API documentation is critical in enabling developers to understand and utilize your API effectively.
High-quality documentation ensures that your API is accessible, user-friendly, and capable of driving adoption among your target audience.
If you already use Docusaurus to manage your technical documentation, you can seamlessly leverage its ecosystem to integrate API documentation using the OpenAPI plugin and theme.
This guide walks you through adding API documentation to your Docusaurus project using the OpenAPI plugin and theme.
By the end of this tutorial, you will have a fully functional API documentation section powered by your OpenAPI specification on your Docusaurus site.
What Will You Learn?
- Setting up Docusaurus: Learn how to install and configure a new Docusaurus project optimized for API documentation.
- Working with OpenAPI Specifications: Discover how to prepare and convert your OpenAPI file for integration.
- Installing and Configuring Plugins: Understand how to install and configure the OpenAPI plugin and theme to generate user-friendly API documentation.
- Generating and Viewing Documentation: Learn how to generate API documentation dynamically and view it on your local server.
Whether you're an experienced developer or a technical writer new to API documentation, this guide offers step-by-step instructions to simplify the integration process.
Why Use the OpenAPI Plugin and Theme?
The OpenAPI plugin and theme for Docusaurus bring powerful features to your API documentation workflow:
- Dynamic Generation: Automatically generate API documentation from an OpenAPI specification file.
- Interactive Interface: Provide users with an intuitive and interactive layout to explore API endpoints.
- Efficient Maintenance: Update documentation effortlessly as your API evolves, ensuring accuracy and consistency.
- Customizable Design: Leverage Docusaurus themes to align your API documentation with your brand's style and design.
These tools allow you to deliver polished API documentation that meets the high standards developers expect.
Prerequisites
Ensure that you have the following:
- Docusaurus Installed: You need a Docusaurus project. If you don’t have one, we’ll cover how to install it.
- Node.js Installed: Before building Docusaurus, ensure that Node.js is installed on your machine. You can download it from here.
- Basic Knowledge of JavaScript: Familiarity with JavaScript is required to make the necessary changes to the configuration files.
- Basic Knowledge of API Documentation: Understanding how API documentation works will help as you follow along.
- OpenAPI Specification (OAS): Create a ready-to-use OpenAPI specification file (either in JSON or YAML format) that describes your API's structure and endpoints.
Now, let’s get started with integrating your API documentation into Docusaurus.
Step 1: Set Up Docusaurus with TypeScript
To begin, you’ll need to set up a new Docusaurus project. Using TypeScript is highly recommended over JavaScript for enhanced type-checking, code reliability, and a smoother developer experience, especially when configuring and maintaining API documentation.
Create a New Docusaurus Project
-
Open your terminal and run the following command to initialize a Docusaurus project:
npx create-docusaurus@latest my-website classicnpx create-docusaurus@latest: Fetches and installs the latest version of Docusaurus.my-website: The name of your project directory. You can replace this with any name of your choice.classic: This preset sets up a basic Docusaurus site with default features, perfect as a starting point for customization.
-
Navigate into your project directory once the setup is complete:
cd my-website
At this point, you have a fully initialized Docusaurus project. The following steps involve configuring it to support API documentation using the OpenAPI plugin and theme.
Step 2: Convert Your OpenAPI JSON to YAML
The OpenAPI plugin works best with YAML files due to their simplicity and readability. If your OpenAPI specification is currently in JSON format, you’ll need to convert it to YAML.
This process is straightforward and can be accomplished using free online tools.
Why Use YAML?
-
Readable Format: YAML’s structure is more human-readable than JSON's, especially for larger specifications.
-
Ease of Management: Indentation-based formatting makes organizing and editing the file easier.
A reliable tool such as Site24x7 JSON to YAML Converter simplifies the conversion.
Step 3: Install the OpenAPI Plugin and Theme
With your Docusaurus project set up and the YAML file prepared, the next step is to install the OpenAPI plugin and theme. These tools will help generate and style your API documentation seamlessly.
Installation Commands:
Run the following commands in your terminal to install the required packages:
 yarn add docusaurus-plugin-openapi-docs
 yarn add docusaurus-theme-openapi-docs
docusaurus-plugin-openapi-docs: Automatically generates API documentation from your OpenAPI specification.docusaurus-theme-openapi-docs: Adds a user-friendly theme with pre-built components to display API documentation attractively.
Once installed, your project can be configured for API documentation integration.
Step 4: Configure docusaurus.config.ts
Now, update the Docusaurus configuration file (docusaurus.config.ts) to enable the OpenAPI plugin and theme. This file controls the behavior of your Docusaurus project.
Add Necessary Imports
At the top of the configuration file, add these imports:
    import type * as Plugin from "@docusaurus/types/src/plugin";
    import type * as OpenApiPlugin from "docusaurus-plugin-openapi-docs";
Update the Presets Section.
Locate the presets section and include the following line in the docs Configuration:
docItemComponent: "@theme/ApiItem",
The updated presets Configuration should look like this:
   presets: [
     [
       "classic",
       {
         docs: {
           sidebarPath: "./sidebars.ts",
           docItemComponent: "@theme/ApiItem", // Derived from docusaurus-theme-openapi
         },
         theme: {
           customCss: "./src/css/custom.css",
         },
       } satisfies Preset.Options,
     ],
   ],
Configure the Plugin and Theme:
Add the following configuration for the OpenAPI plugin and theme before the export default config; Line:
    plugins: [
      [
        'docusaurus-plugin-openapi-docs',
        {
          id: "api", // Unique ID for the plugin
          docsPluginId: "classic", // Refers to the preset-classic Docusaurus setup
          config: {
            petstore: {
              specPath: "openapitest.yaml", // Path to your OpenAPI YAML file
              outputDir: "docs/rpcapi", // Where the generated API docs will be stored
              sidebarOptions: {
                groupPathsBy: "tag", // Group endpoints by tags in the sidebar
              },
            } satisfies OpenApiPlugin.Options,
          }
        },
      ]
    ],
    themes: ["docusaurus-theme-openapi-docs"], // Add the OpenAPI theme for visual styling
Key Configuration Details
-
specPath: Path to your OpenAPI YAML file. Update it with the actual location if it is different. -
outputDir: Directory where the API documentation will be generated. You can customize this. -
groupPathsBy: Groups endpoints by tags in the OpenAPI spec, improving navigation in the sidebar.
Save your changes to
docusaurus.config.ts.
Step 5: Generate API Documentation
With the configuration complete, you’re ready to generate the API documentation.
In this tutorial, the docs.rpcapi folder (or the folder you specified in outputDir).
Command to Generate Documentation:
Run the following command in the root of your Docusaurus project:
yarn docusaurus gen-api-docs all
This command processes your OpenAPI YAML file and generates API documentation in the specified output directory.
Expected Output:
You should see a response similar to this:
    Successfully created "docs/rpcapi"
    Successfully created "docs/rpcapi/sidebar.ts"
    Successfully created "docs/rpcapi/rsk-rpc-methods-v-0-9-0-with-apikey.info.mdx"
    Successfully created "docs/rpcapi/eth-accounts.api.mdx"
    ✨  Done in 3.02s.
Your API documentation is now generated and ready to be served on your Docusaurus site.
Step 6: View the Documentation
After generating your API documentation, you can preview it by running the Docusaurus development server.
Start the Development Server.
In your terminal, navigate to the root of your Docusaurus project and run the following command:
yarn start
This command starts the Docusaurus development server and makes your site available locally.
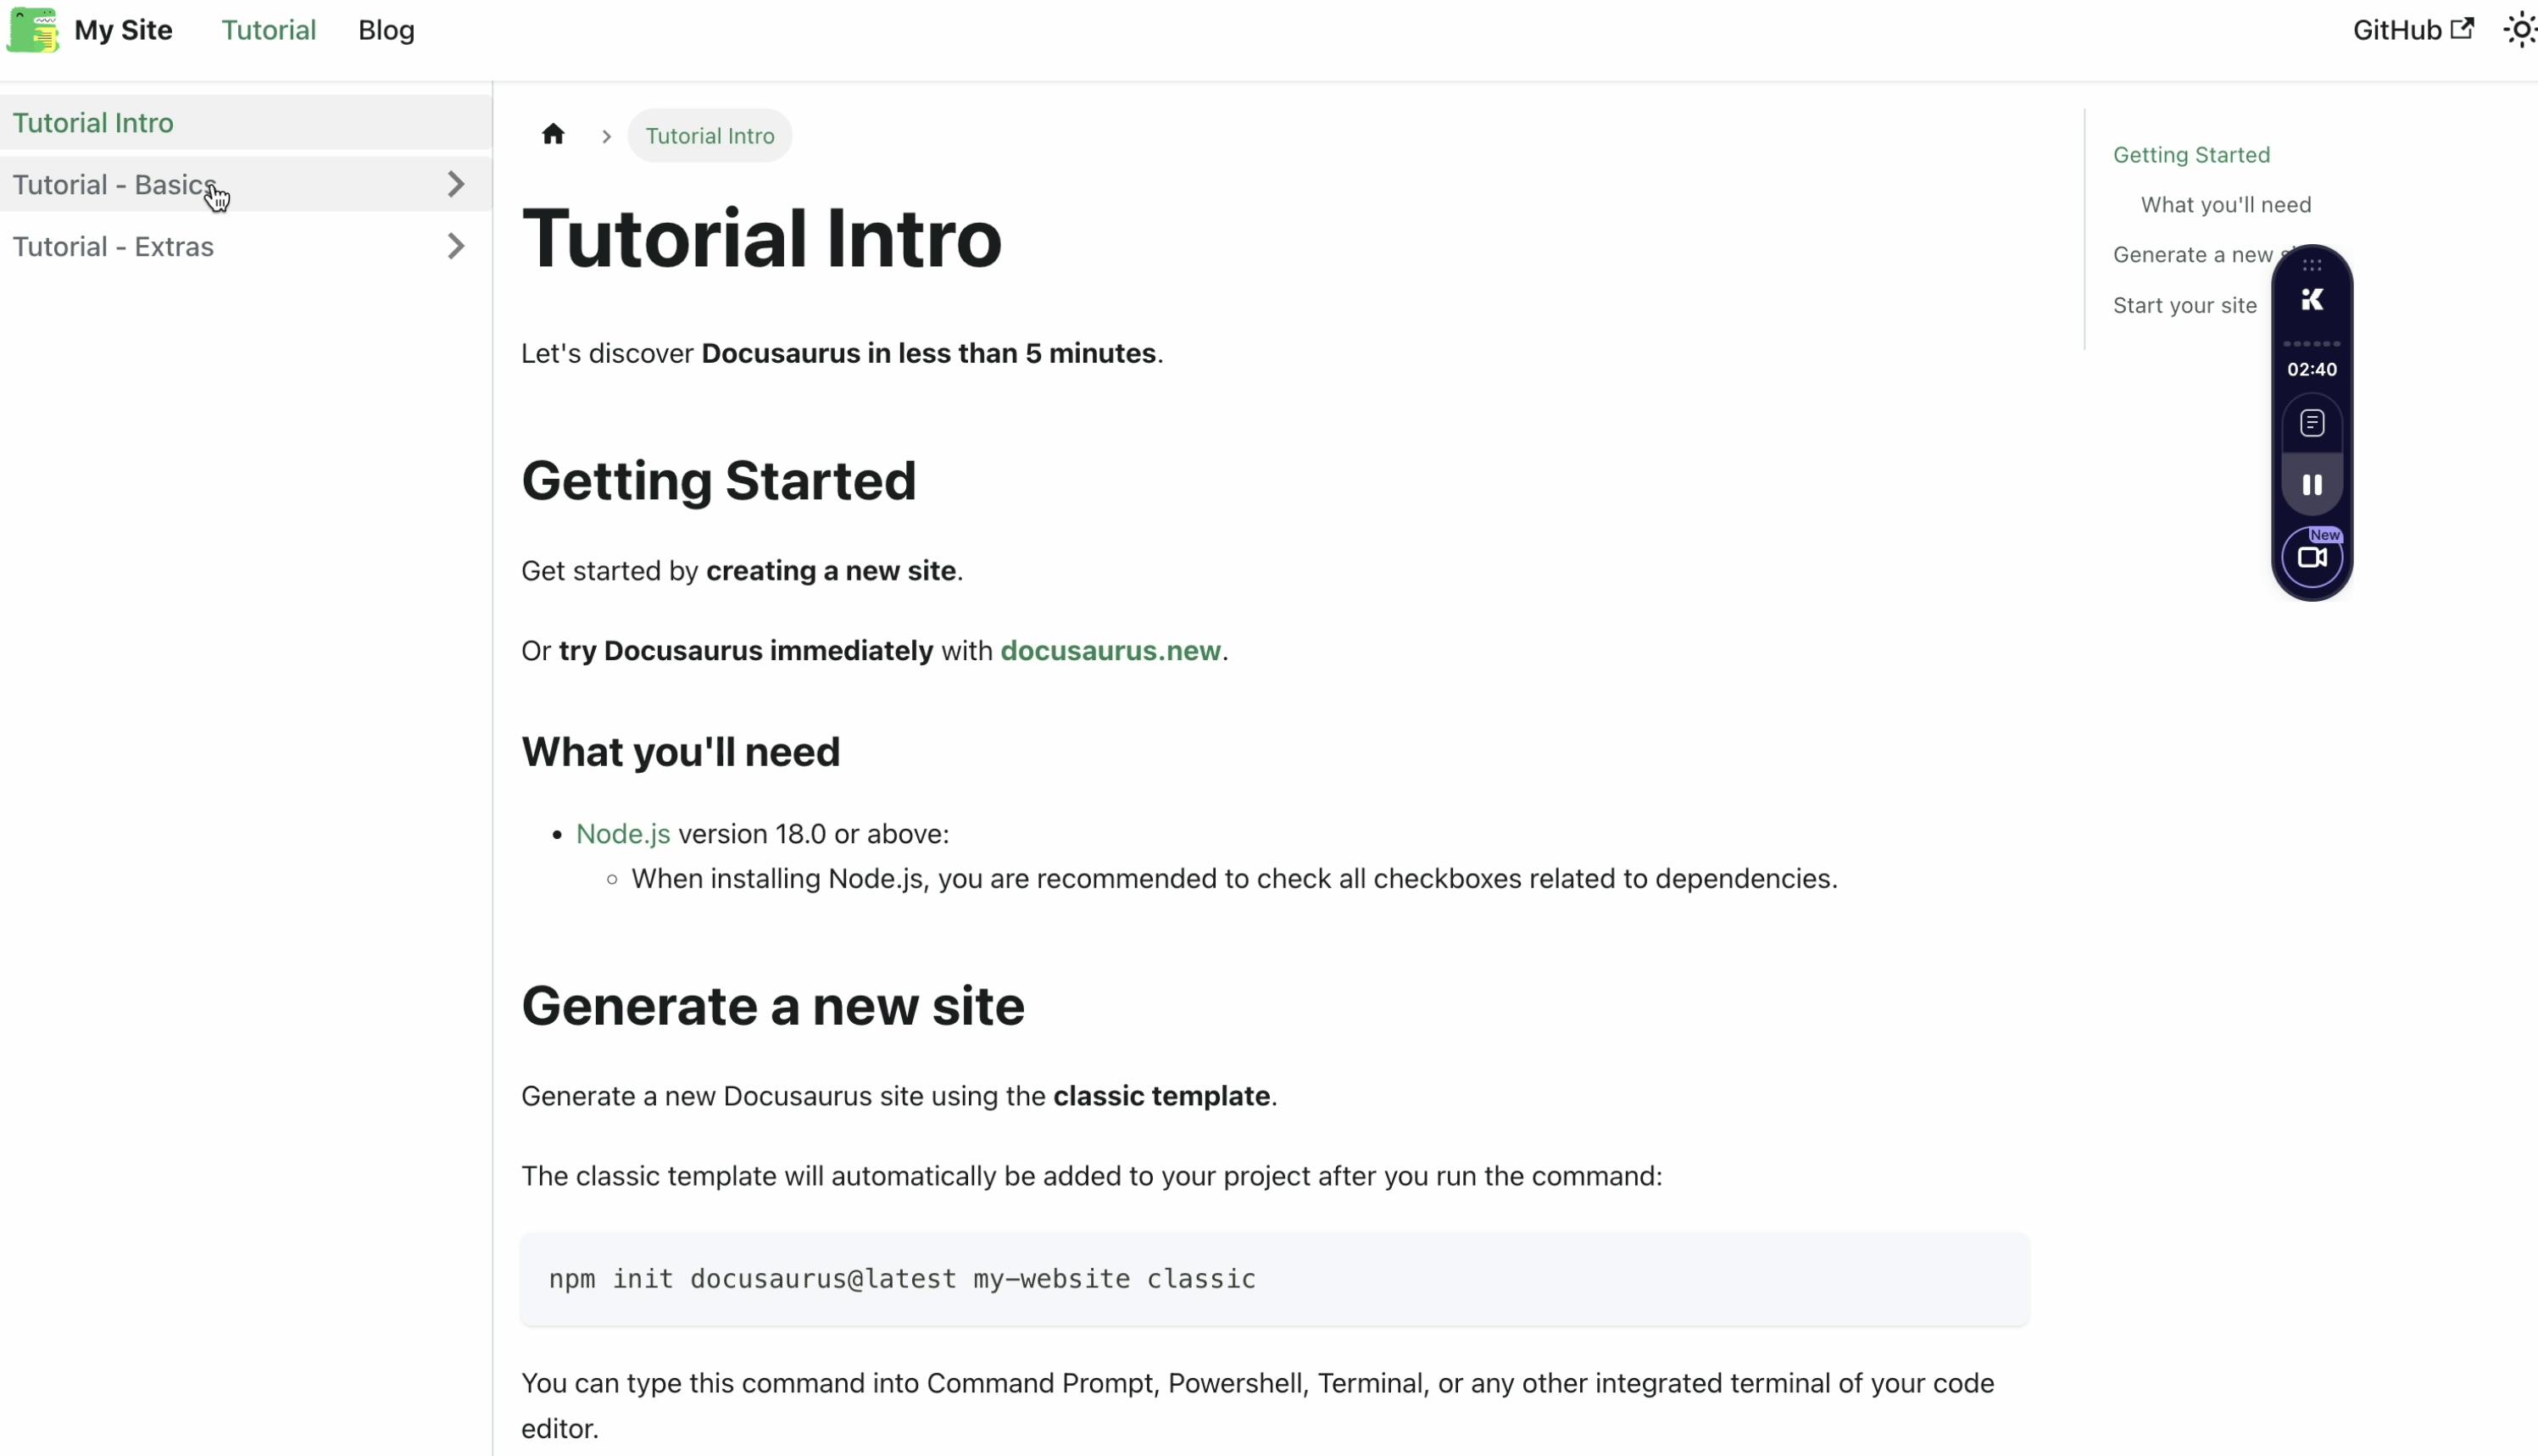
Access the Documentation:
Once the server is running, open your web browser and navigate to:
http://localhost:3000
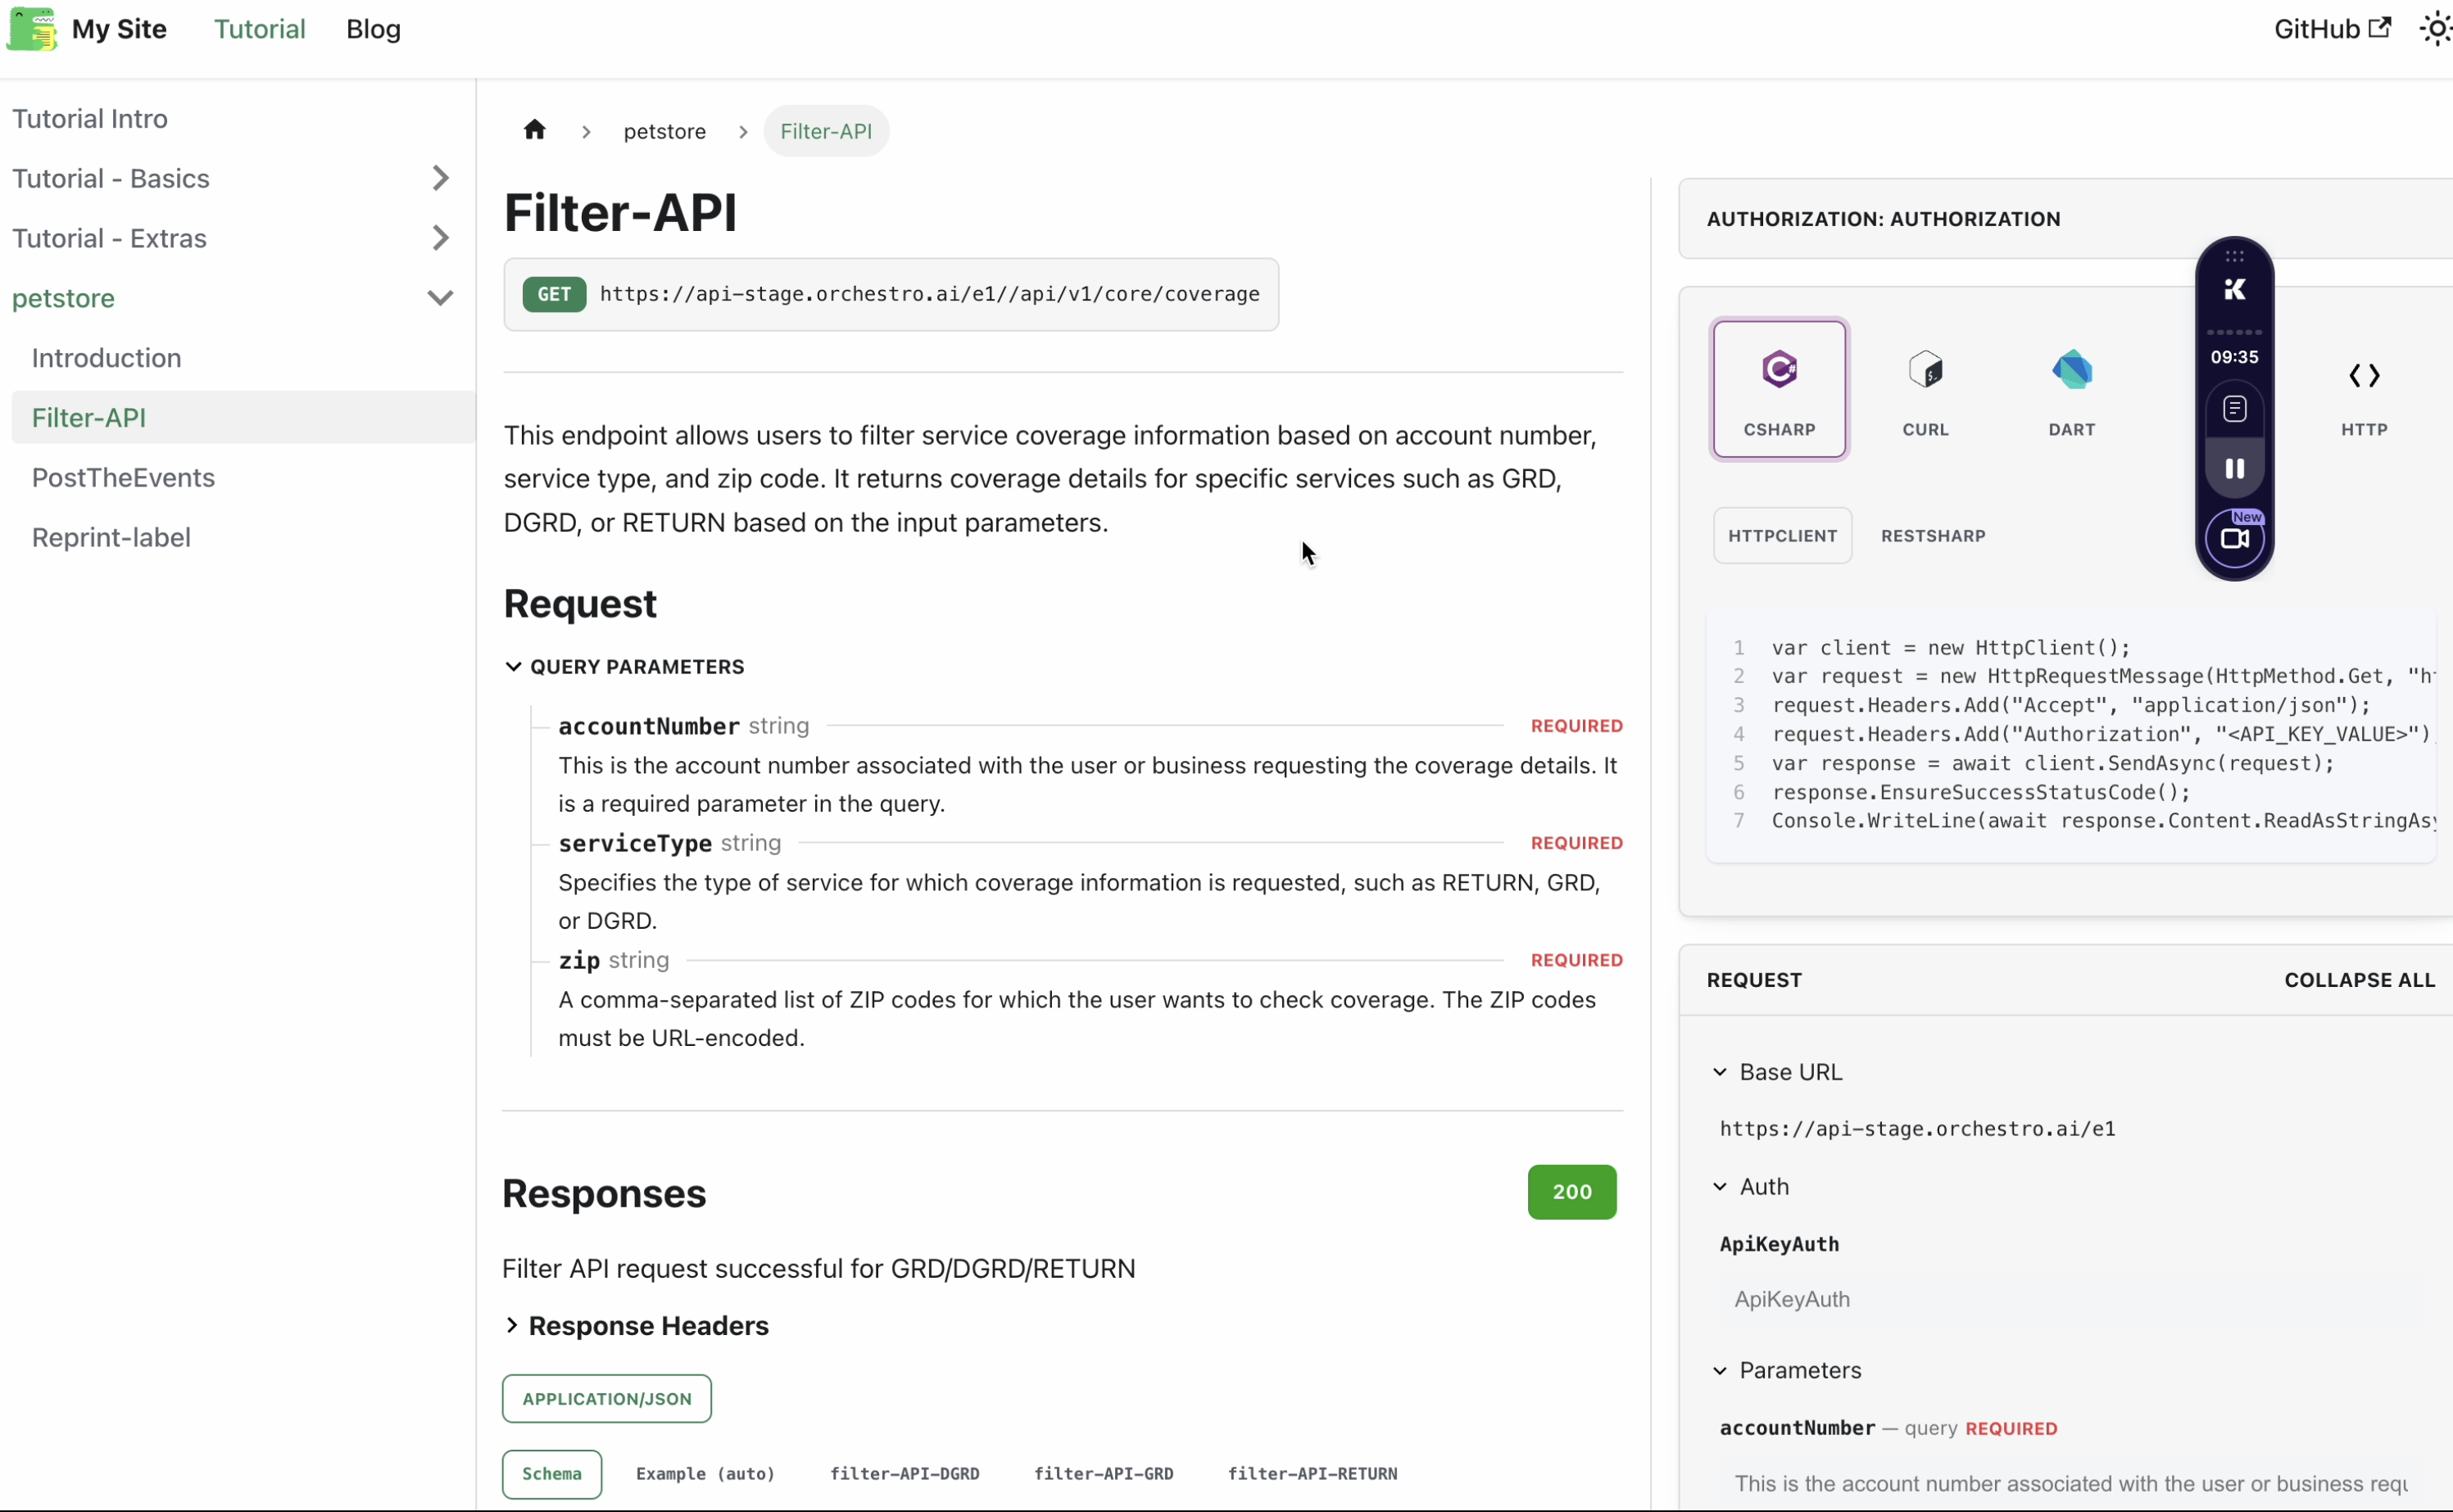
Your newly generated API documentation is neatly organized and rendered based on your OpenAPI specification.
What to Expect:
Your API documentation will include:
- A sidebar for easy navigation, grouping endpoints by tags or categories.
- Interactive, developer-friendly pages for each API endpoint showcasing request/response details, parameters, and example usage.
Conclusion
Congratulations! You’ve successfully integrated API documentation into your Docusaurus site using the OpenAPI plugin and theme.
This setup provides your API consumers with a clean, interactive interface to explore:
- Endpoints and Tags: Easy-to-navigate documentation grouped by tags.
- Request/Response Details: Clear descriptions of interacting with each endpoint.
- Live Examples: Practical examples to help developers get started quickly.
By leveraging the power of Docusaurus and OpenAPI, maintaining and updating your API documentation becomes seamless and efficient, ensuring it evolves alongside your API.
[story continues]
tags