As developers, we often need to tweak screenshots – blur out sensitive info, add annotations, or even change the text. But have you ever wanted to replace a word in a screenshot, and have it look exactly like the original? Same font, same size, same color, same style? I did, and that’s why I built Screenshot Editor – a free, open-source web app that does exactly that.
In this article, I’ll walk you through the journey, the challenges, and the technical nuts and bolts of creating a tool that can “read” text from an image and let you edit it seamlessly.
The Spark
It all started when I was preparing a tutorial and needed to update a UI mockup. I spent 20 minutes in Photoshop trying to match the font, only to give up and use a blur tool. I thought: Why can’t I just click on the text, type my new text, and have it automatically matched? That was the seed for the Screenshot editor.
I wanted a tool that:
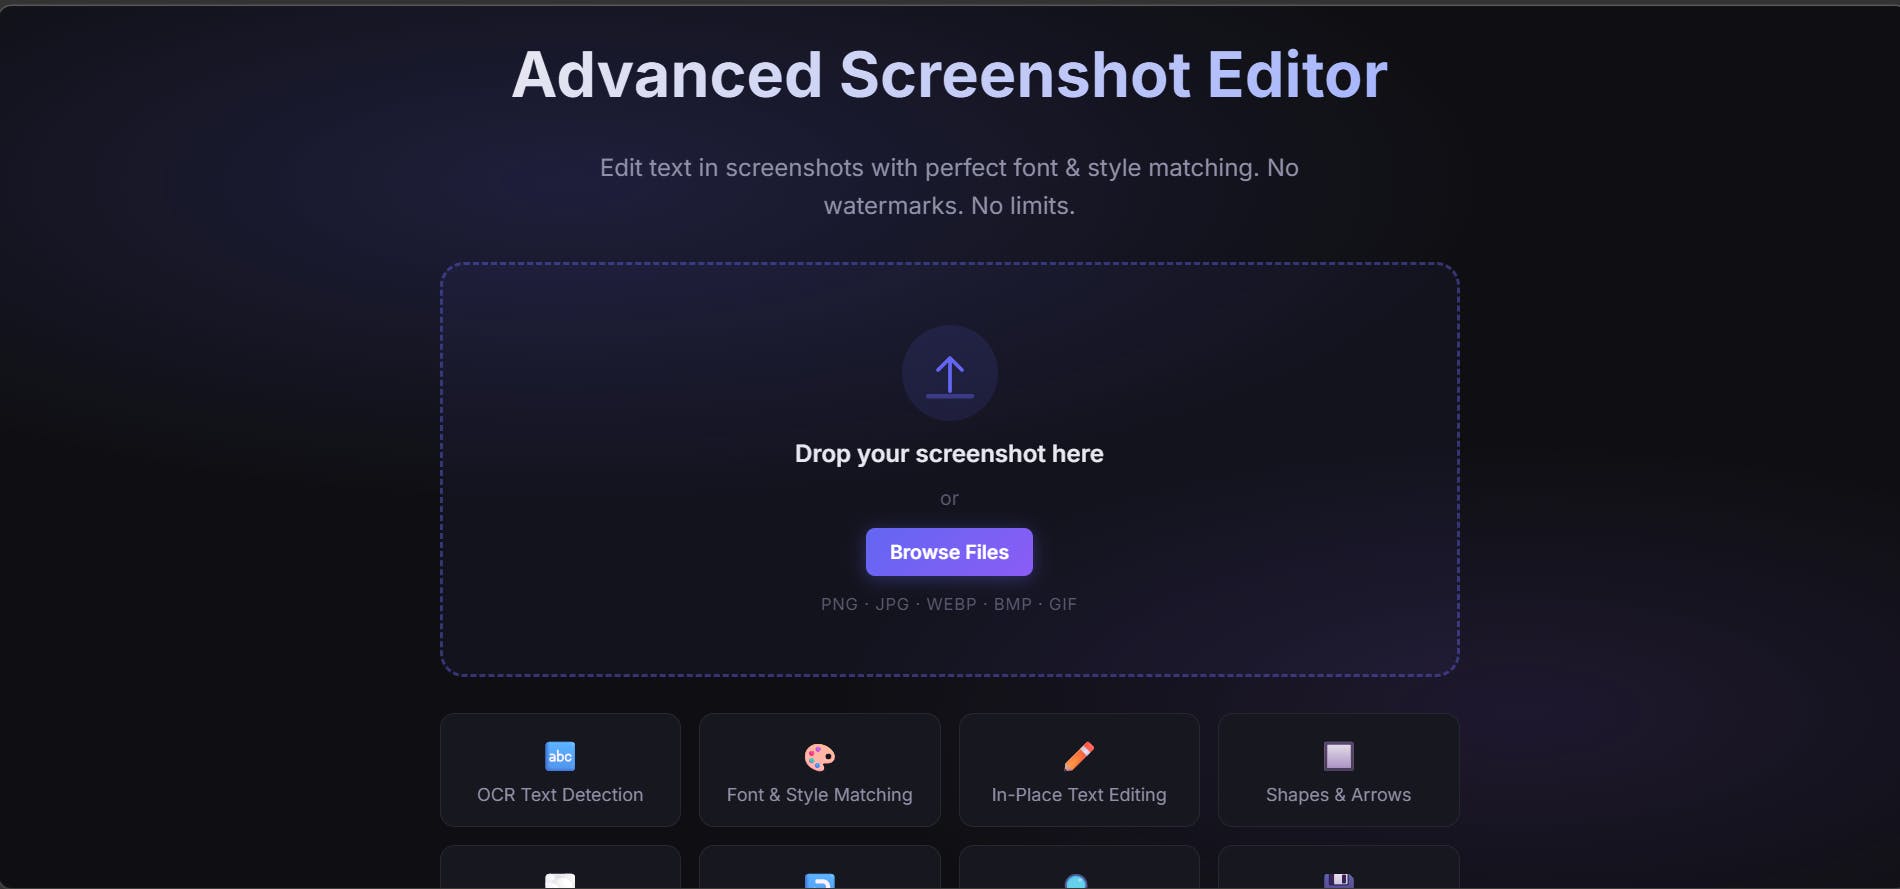
- Is completely free (no subscriptions, no watermarks).
- Runs in the browser (no installation).
- Uses OCR to detect text.
- Automatically extracts the exact font family, size, color, and style.
- Let’s you replace text with perfect visual fidelity.
Tech Stack Overview
The core of the app is built with:
- Fabric.js – for canvas manipulation, object management, and rendering.
- Tesseract.js – for OCR (optical character recognition) directly in the browser.
- Vanilla JavaScript – no frameworks, just plain JS and HTML/CSS.
- Custom algorithms- for color extraction and font style estimation.
Fabric.js was a natural choice because it provides an object model over the canvas, making it easy to add, move, and edit shapes, text, and images. Tesseract.js brings OCR to the client, so no server costs and no privacy concerns – your image never leaves your device.
The Hard Part: Perfect Text Replacement
The headline feature – “edit text with exact font style and color” – turned out to be the most challenging. Here’s how I tackled it.
1. OCR and Word Detection
First, I needed to extract words from the image. Tesseract.js does a decent job, but it’s not perfect. I tweaked the parameters:
- Upscale the image before OCR (3x) to improve recognition of small text.
- Use page segmentation mode
11(sparse text) to find text even in complex layouts. - Filter words with very low confidence (<15) to avoid garbage.
The result is an array of words with bounding boxes, text, and confidence. But Tesseract doesn’t give us font information – that’s where custom estimation comes in.
2. Estimating Font Style (Bold, Italic, Serif)
Tesseract doesn’t output font metadata reliably, so I had to analyze the pixels inside each bounding box to guess whether the text is bold, italic, or serif.
Bold detection: I sample the region and calculate the average “darkness” and the number of dark pixels. If the text is thick (more dark pixels), it’s probably bold.
Italic detection: I look at the horizontal shift of dark pixels from the top to the bottom of the bounding box. In italic text, the top of characters is shifted right relative to the bottom. By comparing the average x-position of dark pixels in the top third vs. the bottom third, I can estimate skew. After tweaking thresholds, I landed on a value that catches obvious italics without false positives.
Serif vs. sans-serif: I check the top and bottom edges of the bounding box for horizontal strokes (serifs). If there are many dark pixels at the very top and bottom, it’s likely a serif font like Times New Roman; otherwise, I default to Arial.
3. Extracting Exact Colors
To replace text seamlessly, I need the background color (to paint over the original text) and the foreground text color. I wrote a function extractTextColors(bbox) that:
- Samples a slightly expanded region around the word.
- Collects all border pixels to find the most common color (background) using a binning method (grouping similar colors to handle JPEG artifacts).
- Then, among all pixels, finds those farthest from the background (high contrast) and picks the most frequent color among them – that’s the text color.
This works surprisingly well, even with anti-aliasing and gradients.
4. Aligning the New Text
The biggest headache was positioning the new text so that it fits exactly in the original bounding box. Font metrics are complex – the actual “ink” of a character doesn’t fill the entire bounding box. For example, a lowercase ‘a’ has ascenders and descenders.
I had to estimate the “ink top” and “ink bottom” based on the characters in the word. For a word like “hello”, the ink sits roughly between 25% and 75% of the bounding box height. For words with uppercase letters or descenders, I adjust those ratios.
Once I have the target height of the ink, I calculate the font size needed to match that height. Then I compute the vertical offset, so the baseline aligns correctly. Finally, I adjust character spacing (charSpacing) and horizontal scale to make the word width match the original bounding box. The challenge was to avoid overlapping characters – I capped negative spacing at -30 to keep letters separate.
5. Building the UI and User Experience
The interface needed to be intuitive: drag & drop an image, select a tool (select, text, shapes, blur, mosaic, crop), and see the OCR results in a sidebar. When you click on a detected word, a tooltip appears, letting you “Edit Text” or “Cover”.
Clicking “Edit Text” triggers the magic: it covers the original text with a rectangle of the extracted background color, then places a new editable Text object with all the estimated properties. The user can then type their new text and see it instantly rendered in the matching style.
Other Features
- Drawing tools: Pen, highlight, shapes (rect, circle, line, arrow), blur, mosaic.
- Crop: Simple selection and crop.
- Layers panel: Manage all objects, reorder, duplicate, and delete.
- Keyboard shortcuts: V (select), T (text), R (rect), etc. – plus arrow nudging.
- Export: PNG, JPEG, with adjustable quality and scale.
- Copy to clipboard: One-click copy of the edited image.
Performance Considerations
Running OCR and pixel manipulation in the browser can be heavy. I used:
- Web Workers (via Tesseract’s built-in support) to keep the UI responsive.
- Request Animation Frame for smooth canvas updates.
- Debounced history saves to avoid flooding the stack.
Lessons Learned
- OCR is hard: Tesseract works but needs preprocessing. I added grayscale, contrast boost, and upscaling to improve accuracy.
- Font estimation is an art: Pixels don’t lie, but they can be noisy. I had to iterate on thresholds to balance sensitivity.
- User expectations are high: When you promise “exact” matching, you have to get it right. I added fallbacks and manual overrides so users can tweak font, size, and color if needed.
- Mobile support matters: I made the interface responsive with a collapsible sidebar and touch-friendly controls.
The Result
Screenshot editor Pro is now a fully functional, free screenshot editor that anyone can use. You can try it live at
https://screenshoteditoronline.com/. It’s been a rewarding journey, and I’m proud of how accurately it can replace text in screenshots – sometimes it’s not perfect, but it does the work.