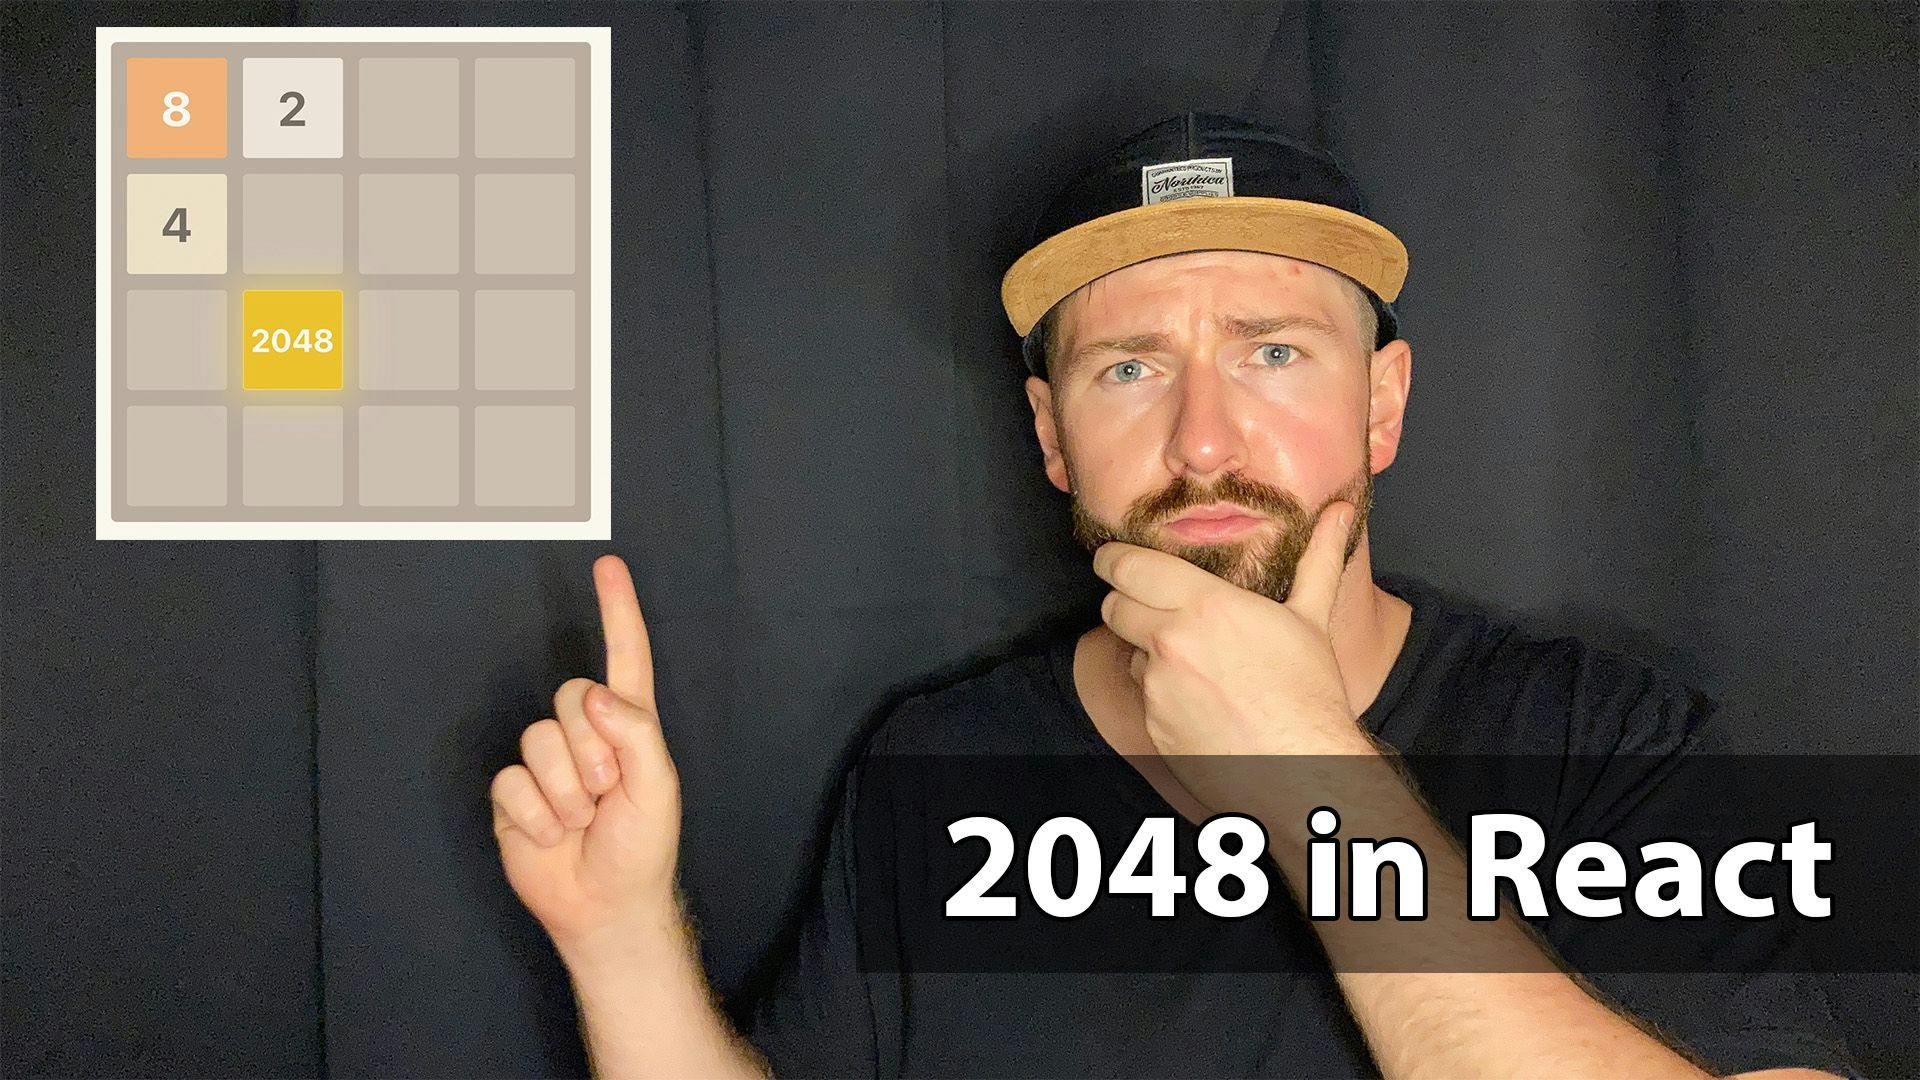
Today you will learn how to build your own clone of the 2048 game in React.
What makes this article unique is that we will focus on creating delightful animations. Aside from React, we will use TypeScript and we'll make some CSS transitions using LESS.
We are only going to use modern React interfaces such as hooks and the Context API.
This article contains a few external resources such as:
...and a YouTube video. It took me more than a month to prepare this tutorial, so it would mean the world to me if you watch it, smash the like button, and subscribe to my channel.
Thank you!
2048 Game Rules
In this game, the player must combine tiles containing the same numbers until they reach the number 2048. The tiles can contain only integer values starting from 2, and that are a power of two, like 2, 4, 8, 16, 32, and so on.
Ideally, the player should reach the 2048 tile within the smallest number of steps. The board has dimension of 4 x 4 tiles, so that it can fit up to 16 tiles. If the board is full, and there is no possible move to make like merging tiles together - the game is over.
While creating this tutorial I took shortcuts to focus on the game mechanics and animations. What did I get rid of?
- In our example, the game always creates a new tile with the number 2. But in the proper version it should generate a random number (either 2 or 4 - to make it harder to play).
- Also, we will not handle wins and loses. You can play after you complete the number 2048, and nothing happens when the board is unsolvable - you need to click the reset button.
- I skipped the scoring.
If you want you can implement those missing features on your own. Just fork my repository and implement it on your own setup.
The Project Structure
The application contains the following elements:
- Board (component) – responsible for rendering tiles. It exposes one hook called
.useBoard - Grid (component) – renders 4x4 grid.
- Tile (component) – responsible for all animations related to the tile, and rendering the tile itself.
- Game (component) – combines all elements above together. It includes a
hook which is responsible for enforcing the game rules and constrains.useGame
How to Build the Tile Component
We want to invest more time in animations, so I will start the story from the Tile component. In the end, this component is responsible for all animations in the game.
There are only two fairly simple animations in 2048 – tile highlighting, and sliding it across the board. We can handle those animations with CSS transitions by declaring the following styles:
.tile {
  // ...
  transition-property: transform;
  transition-duration: 100ms;
  transform: scale(1);
}
At the current moment I defined only one transition that will highlight the tile when it is created or merged. We will leave it like that for now.
Let's consider how the Tile meta data is supposed to look, so we can easily use it. I decided to call it
TileMetatype TileMeta = {
id: number;
position: [number, number];
value: number;
mergeWith?: number;
};
– the unique identifier of the tile. It is important so that the React DOM doesn't re-render all tiles from scratch on every change. Otherwise, we would see all tiles highlighted on every action of the player.id
– the position of the tile on the board. It is an array with two elements, theposition
andx
coordinate (the possible values arey
-0
in both cases).3
– the tile value. Only the power of two, starting fromvalue
.2
– (optional) the id of the tile which is going to absorb the current tile. If it is present, the tile should be merged into another tile, and disappear.mergeWith
How to Create and Merge Tiles
We want to somehow highlight that the tile changed after the player's action. I think the best way would be changing the tile's scale to indicate that a new tile has been created or one has been changed.
export const Tile = ({ value, position }: Props) => {
  const [scale, setScale] = useState(1);

  const prevValue = usePrevProps<number>(value);

  const isNew = prevCoords === undefined;
  const hasChanged = prevValue !== value;
  const shallAnimate = isNew || hasChanged;

  useEffect(() => {
    if (shallAnimate) {
      setScale(1.1);
      setTimeout(() => setScale(1), 100);
    }
  }, [shallAnimate, scale]);

  const style = {
    transform: `scale(${scale})`,
  };

  return (
    <div className={`tile tile-${value}`} style={style}>
      {value}
    </div>
  );
};
To trigger the animation, we need to consider two cases:
- a new tile – the previous value will be
.null - the tile changed the value – the previous value will be different than the current one.
And the result is the following:
You might've noticed that I'm using a custom hook called
usePrevPropsI could use references to retrieve the previous values but it would clutter up my component. I decided to extract it into a standalone hook, so the code is readable, and I can use this hook in other places.
If you want to use it in your project, just copy this snippet:
import { useEffect, useRef } from "react";

/**
 * `usePrevProps` stores the previous value of the prop.
 *
 * @param {K} value
 * @returns {K | undefined}
 */
export const usePrevProps = <K = any>(value: K) => {
  const ref = useRef<K>();

  useEffect(() => {
    ref.current = value;
  });

  return ref.current;
};
How to Slide Tiles Across the Board
The game will look janky without animated sliding of tiles across the board. We can easily create this animation by using CSS transitions.
The most convenient will be to use properties responsible for positioning, such as
lefttop.tile {
position: absolute;
// ...
transition-property: left, top, transform;
transition-duration: 250ms, 250ms, 100ms;
transform: scale(1);
}Once we've declared the styles, we can implement the logic responsible for changing a tile's position on the board.
export const Tile = ({ value, position, zIndex }: Props) => {
  const [boardWidthInPixels, tileCount] = useBoard();
  // ...

  useEffect(() => {
    // ...
  }, [shallAnimate, scale]);

  const positionToPixels = (position: number) => {
    return (position / tileCount) * (boardWidthInPixels as number);
  };

  const style = {
    top: positionToPixels(position[1]),
    left: positionToPixels(position[0]),
    transform: `scale(${scale})`,
    zIndex,
  };

  // ...
};
As you can see, the equation in the
positionToPixelsWait a minute... but what about the
useBoardzIndex
allows us to access the properties of the board within the children components without passing them down. The Tile component needs to know the width and total count of tiles to find the right spot on the board. Thanks to React Context API we can share properties across multiple layers of components without polluting their properties (props).useBoard
is a CSS property that defines the order of tile on the stack. In our case it is the id of the tile. As you can see on the gif below, the tile can be stacked on each other, so thezIndex
enabled us to specify which one will be on top.zIndex
– an array of tiles available on the board. It uses the TileMeta type described above.tiles
– a function that slides all tiles to the left side of the board.moveLeft
– a function that slides all tiles to the right side of the board.moveRight
– a function that slides all tiles to the top of the board.moveUp
– a function that slides all tiles to the bottom of the board.moveDown
– a hash table responsible for storing tiles. The hash table makes it easy to lookup entries by their keys, so it is a perfect match for us since we want to find tiles by their ids.tiles
– an array containing all ids in the expected order (that is, ascending). We must keep the right order of tiles, so React doesn't re-render the whole board every time we change the state.byIds
– keeps track of tile changes. If nothing has changed the new tile will not be generated.hasChange
– determines if tiles are still moving. If they are, the new tile will not be generated until the motion is completed.inMotion
– creates a new tile, and appends it into the tiles hash table. It changes theCREATE_TILE
flag tohasChange
since this action is always triggered when a new tile is appended to the board.false
– updates an existing tile. It doesn't modify the id which is important to keep the animations working. We will use it to reposition the tile and change its value (during merges). Also, it changes theUPDATE_TILE
flag tohasChange
.true
– merges a source tile into a destination tile. After this operation, the destination tile will change its value (the value of the source tile will be added into it). And it will remove the source tile from the tiles table andMERGE_TILE
array.byIds
– tells the reducer it should expect multiple actions, so it must wait until all animations are complete before it will be able to generate a new tile.START_MOVE
– tells the reducer all actions were completed, and it can safely create a new tile.END_MOVE
How to Build the Board
Another important part of the game is the Board. The
BoardIt seems like the Board has duplicated business logic with Tile component, but there is a small difference. The Board holds information about its size (width and height), and number of columns and rows. It's the opposite of the Tile which only knows its own position.
type Props = {
  tiles: TileMeta[];
  tileCountPerRow: number;
};

const Board = ({ tiles, tileCountPerRow = 4 }: Props) => {
  const containerWidth = tileTotalWidth * tileCountPerRow;
  const boardWidth = containerWidth + boardMargin;

  const tileList = tiles.map(({ id, ...restProps }) => (
    <Tile key={`tile-${id}`} {...restProps} zIndex={id} />
  ));

  return (
    <div className="board" style={{ width: boardWidth }}>
      <BoardProvider containerWidth={containerWidth} tileCountPerRow={tileCountPerRow}>
        <div className="tile-container">{tileList}</div>
        <Grid />
      </BoardProvider>
    </div>
  );
};
The Board component uses the
BoardProviderconst BoardContext = React.createContext({
containerWidth: 0,
tileCountPerRow: 4,
});
type Props = {
containerWidth: number;
tileCountPerRow: number;
children: any;
};
const BoardProvider = ({
children,
containerWidth = 0,
tileCountPerRow = 4,
}: Props) => {
return (
<BoardContext.Provider value={{ containerWidth, tileCountPerRow }}>
{children}
</BoardContext.Provider>
);
};The
BoardProvideruseBoardI am going to skip this topic since I spoke more about it in my video on Feature Toggles in React. If you wish to learn more about them you can watch it.
const useBoard = () => {
  const { containerWidth, tileCount } = useContext(BoardContext);

  return [containerWidth, tileCount] as [number, number];
};
How to Build the Game Component
Now we can specify the rules of game, and expose the interface to play the game. I am going to start with the navigation since it will help you understand why the game logic is implemented that way.
import { useThrottledCallback } from "use-debounce";

const Game = () => {
  const [tiles, moveLeft, moveRight, moveUp, moveDown] = useGame();

  const handleKeyDown = (e: KeyboardEvent) => {
  	// disables page scrolling with keyboard arrows
    e.preventDefault();

    switch (e.code) {
      case "ArrowLeft":
        moveLeft();
        break;
      case "ArrowRight":
        moveRight();
        break;
      case "ArrowUp":
        moveUp();
        break;
      case "ArrowDown":
        moveDown();
        break;
    }
  };

  // protects the reducer from being flooded with events.
  const throttledHandleKeyDown = useThrottledCallback(
    handleKeyDown,
    animationDuration,
    { leading: true, trailing: false }
  );

  useEffect(() => {
    window.addEventListener("keydown", throttledHandleKeyDown);

    return () => {
      window.removeEventListener("keydown", throttledHandleKeyDown);
    };
  }, [throttledHandleKeyDown]);

  return <Board tiles={tiles} tileCountPerRow={4} />;
};
As you can see, the game logic will be handled by the
useGameWe use the
throttledHandleKeyDownThis mechanism is called throttling. I decided to use the
useThrottledCallbackuse-debounceHow to Use the useGame Hook
I mentioned above that the Game component will be handling the rules of the game as well. We are going to extract the game logic into a hook rather than writing it directly onto the component (since we don't want to clutter the code).
The
useGameuseReducertype TileMap = {
[id: number]: TileMeta;
}
type State = {
tiles: TileMap;
inMotion: boolean;
hasChanged: boolean;
byIds: number[];
};The state contains the following fields:
Actions
useReducertype Action =
| { type: "CREATE_TILE"; tile: TileMeta }
| { type: "UPDATE_TILE"; tile: TileMeta }
| { type: "MERGE_TILE"; source: TileMeta; destination: TileMeta }
| { type: "START_MOVE" }
| { type: "END_MOVE" };What are those actions responsible for?
If you don't understand why we defined those actions, don't worry – now we are going to implement a hook which will hopefully shed some light on it.
How to Implement the Hook
Let's look into the function which is responsible for a player's moves. We will focus on the move left only since the other ones are almost the same.
const moveLeftFactory = () => {
    const retrieveTileIdsByRow = (rowIndex: number) => {
      const tileMap = retrieveTileMap();

      const tileIdsInRow = [
        tileMap[tileIndex * tileCount + 0],
        tileMap[tileIndex * tileCount + 1],
        tileMap[tileIndex * tileCount + 2],
        tileMap[tileIndex * tileCount + 3],
      ];

      const nonEmptyTiles = tileIdsInRow.filter((id) => id !== 0);
      return nonEmptyTiles;
    };

    const calculateFirstFreeIndex = (
      tileIndex: number,
      tileInRowIndex: number,
      mergedCount: number,
      _: number
    ) => {
      return tileIndex * tileCount + tileInRowIndex - mergedCount;
    };

    return move.bind(this, retrieveTileIdsByRow, calculateFirstFreeIndex);
  };

  const moveLeft = moveLeftFactory();
As you can see, I decided to bind two callbacks to the
moveIf you don't know how
bindThe first callback called
retrieveTileIdsByRowThe second callback called
calculateFirstFreeIndexNow we are going to look into the business logic of the
movetype RetrieveTileIdsByRowOrColumnCallback = (tileIndex: number) => number[];
type CalculateTileIndex = (
tileIndex: number,
tileInRowIndex: number,
mergedCount: number,
maxIndexInRow: number
) => number;
const move = (
retrieveTileIdsByRowOrColumn: RetrieveTileIdsByRowOrColumnCallback,
calculateFirstFreeIndex: CalculateTileIndex
) => {
// new tiles cannot be created during motion.
dispatch({ type: "START_MOVE" });
const maxIndex = tileCount - 1;
// iterates through every row or column (depends on move kind - vertical or horizontal).
for (let tileIndex = 0; tileIndex < tileCount; tileIndex += 1) {
// retrieves tiles in the row or column.
const availableTileIds = retrieveTileIdsByRowOrColumn(tileIndex);
// previousTile is used to determine if tile can be merged with the current tile.
let previousTile: TileMeta | undefined;
// mergeCount helps to fill gaps created by tile merges - two tiles become one.
let mergedTilesCount = 0;
// interate through available tiles.
availableTileIds.forEach((tileId, nonEmptyTileIndex) => {
const currentTile = tiles[tileId];
// if previous tile has the same value as the current one they should be merged together.
if (
previousTile !== undefined &&
previousTile.value === currentTile.value
) {
const tile = {
...currentTile,
position: previousTile.position,
mergeWith: previousTile.id,
} as TileMeta;
// delays the merge by 250ms, so the sliding animation can be completed.
throttledMergeTile(tile, previousTile);
// previous tile must be cleared as a single tile can be merged only once per move.
previousTile = undefined;
// increment the merged counter to correct position for the consecutive tiles to get rid of gaps
mergedTilesCount += 1;
return updateTile(tile);
}
// else - previous and current tiles are different - move the tile to the first free space.
const tile = {
...currentTile,
position: indexToPosition(
calculateFirstFreeIndex(
tileIndex,
nonEmptyTileIndex,
mergedTilesCount,
maxIndex
)
),
} as TileMeta;
// previous tile becomes the current tile to check if the next tile can be merged with this one.
previousTile = tile;
// only if tile has changed its position will it be updated
if (didTileMove(currentTile, tile)) {
return updateTile(tile);
}
});
}
// wait until the end of all animations.
setTimeout(() => dispatch({ type: "END_MOVE" }), animationDuration);
};The complete code of this hook has more than 400 lines of code, so instead of pasting it here I decided to keep it on GitHub – so please review the complete code there.
Summary
I hope you enjoyed my tutorial. This time I decided to focus on the essence of the topic rather than building basic React and CSS, so I skipped those basic parts. I believe it makes this article easier to digest.
Any feedback or questions? Shout at me on twitter!
If you found this article helpful please share it, so more developers can learn from it. Occasionally I publish videos on my YouTube channel, and it would be great if you subscribe to my channel, hit the like button, and drop a comment under your favourite video.
Stay tuned!
This article was first published at: https://www.freecodecamp.org/news/how-to-make-2048-game-in-react/
This article was first published at: https://www.freecodecamp.org/news/how-to-make-2048-game-in-react/