As engineers, we're taught to design for reliability. We do design calculations, run simulations, build and test prototypes, and even then we recognize that these are imperfect, so we include safety factors. When it comes to the Industrial Internet of Things (IIoT) though, we rarely give the same level of scrutiny to the components that we rely on.
What if we treated our IIoT database the same way we treated the physical things we produce? We build and design a prototype database, and then put it through some serious testing, even to failure.
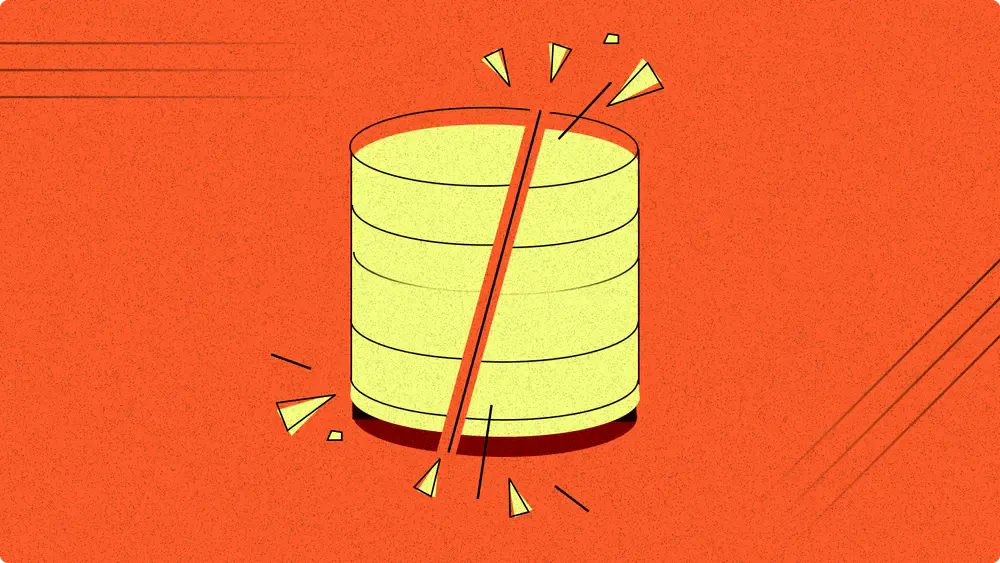
The Value (and Perils) of Stress Testing
Think of database stress testing as a destructive materials test for your data storage. You wouldn't trust a bridge made of untested steel, so don’t trust your database until you know its limits.
The Value:
- Identify Bottlenecks: Stress testing reveals the weak links—what is likely to fail first? Will you run out of storage? Will your queries get bogged down? Or will you hit the dreaded ingest wall (when data comes in faster than it can be stored)?
- Determine Real-World Behaviour: You'll find out exactly how your database performance changes as the amount of data increases. What issues are future-you going to struggle with?
- Optimize Configuration: Just like you might build a few different prototypes and see how it affects failure modes, changing your database configuration, especially when it comes to indices, can dramatically affect how it behaves. Building a rigorous stress testing framework provides a safe way to optimize your design.
I hope it goes without saying, but please, please don’t run this on your production environment. Even if it’s technically a different database but the same hardware, this test can wreak havoc on your resources and crash your system. You’ve been warned.
What to Measure?
There’s no point going through all the effort to break your system if you don’t learn anything. Assuming you’re using a PostgreSQL database (
Table Size
The size of a Postgresql table is generally measured by number of rows, but the actual space on disk that it occupies is a sum of the heap (the main relational table), the indices, and the TOAST (storage for large objects).
The following query will give the number or rows as well as the size of each component of the table in bytes.
SELECT
      reltuples::bigint AS row_count,
      pg_relation_size('iiot_history') AS heap_size,
      pg_indexes_size('iiot_history') AS indices_size,
      pg_table_size('iiot_history') -
            pg_relation_size('iiot_history') AS toast_size
FROM pg_class WHERE relname = 'iiot_history';
The reason for the odd row_count is that counting rows the standard way, with COUNT(*), requires scanning the whole table, which is going to be painfully slow when we’re building a table big enough to break things.
Table Performance
The best way to measure table performance is to use the actual queries that your production system will use. At a minimum, this should include your batched INSERT (you always batch, right?) and at least one common SELECT. Keep in mind that for a table with N rows, the timing for queries tend to be either constant, log(N), N or worse depending on how the indices are structured.
You can get very accurate timing info from running your queries with the prefix EXPLAIN ANALYZE, and it’s worth doing this at least once to see what the database is doing under the hood. However, I recommend running the whole test with a scripting language and then just timing the execution of that particular step.
Server Performance
Don’t forget the engine that’s driving all this machinery. You’ll need to watch the CPU, Memory, Storage, and Network Bandwidth. People in the IT world tend to talk about headroom for a server, and that’s what you’re really looking at: how much spare capacity do you have? Your CPU and Memory usage might spike at times, but the important thing is that it’s not always running at max capacity.
There are a lot of free and paid tools to monitor these variables. I almost always do this type of test in a VM (easier to clean up the mess when it all breaks) and I like to use
Setting Limits
It’s helpful to set some limits on these parameters so you know when to stop the test. For database size, it might be some measurement like a year's worth of data, or when the drive is 80% full. For ingest timing, I suggest stopping when inserting takes longer than the desired ingest frequency—this is the ingest bottleneck and something you really want to avoid in production. Scan times can be limited by the time it takes for a specific query. Maybe calculating the average value from one tag over the past hour must be less than 10s.
How to Simulate Data?
There are lots of ways to insert data, but it’s usually a tradeoff between how well the data represents real scenarios and how long it takes to run the test.
The following is one of my favourite methods for injecting large amounts of data into an IIoT database:
Say you have a classic IIoT history table like the following:
CREATE TABLE iiot_history(
	time TIMESTAMPZ NOT NULL,
	tag_id INT NOT NULL,
	value DOUBLE PRECISION,
	PRIMARY KEY (tag_id, time)
);
If you expect to ingest 10,000 tags at 1s intervals, you can use the following INSERT query to add a day’s worth of history to the back end of your table.
INSERT INTO iiot_history(time, tag_id, value)
	SELECT *, random() as value
FROM(
		SELECT generate_series(
			min_date-INTERVAL '1day',
			min_date-INTERVAL '1s',
			INTERVAL '1s') as time
		FROM (SELECT LEAST(NOW(),MIN(time)) AS min_date
FROM iiot_history)
),
		generate_series(1,10000) as tag_id;
This will generate random data values for every second during a day and for every tag_id from 1 to 10,000. Not exactly as interesting as real data, but enough to fill up your table.
The nice thing about this query is that you should be able to run it in parallel to your real-time data pipeline and it won’t mess with your data (aside from potentially locking your table while it runs). It’s also easy to modify this query to inject more or less tags as well as change the time interval if you’re playing around with different configurations.
If you use this query, or whichever one you prefer, in a script (I usually use Python), then you can automate the whole test. Something along the lines of:
- Get database size
- Run select queries, measure execution time
- Run insert queries several times, measure and average execution time
- Artificially grow database size
- Repeat 1-3 until one of the failure conditions is reached.
How to Interpret Results and What to Expect in the Real World?
Your test results will give you some clear data points, but you still need to do some interpreting.
-
Identify the Limiting Component: Where did the database fail? If it’s a query that took too long, you might be able to speed things up with a clever index. If it’s an insert that took too long, you might be able to speed things up by removing that clever index you added earlier.
-
Optimize: There’s a lot you can do to improve table performance before throwing the whole thing out in frustration:
- Proper Indexing: Choosing an index is almost always a tradeoff, for example: Indexing the tag_id column before the time column will speed up most queries, at the cost of slower inserts as the table grows. Indexing the time column first will avoid the ‘ingest wall’ at the cost of slower queries. Figure out which solution is best.
- Plan for the future: Will you need more hardware in a few months or a few years? Being able to estimate the life of your existing architecture means you won’t be caught unawares when it no longer suffices.
- Partitioning/Chunking: For very large tables, you may need to partition appropriately (see PostgreSQL extensions like
TimescaleDB ). How great would it be to learn you’ll need this before you actually need this.
-
Add a Safety Factor: If your test showed a maximum reliable throughput of 15,000 rows/sec, set your operational limit to 10,000 rows/sec. The real world has peaks, unexpected queries, and background maintenance tasks that will steal resources. Like we do with all engineering products, design with margin.
If you treat your database like a prototype and really put it through its paces, you’ll get a preview of how it’ll behave in the future and make good, proactive design decisions instead of struggling in the future. Now, go break something (and learn).