In this post, I'm going to share simple method to create Hamburger Menu in ReactJS. Using this method you can create any type of Hamburger Menu you want.
If you want to see whole tutorial of creating Hamburger Menu with all the functionalities like React-Router with awesome radical gradient background effect then you can follow the video below.
First of all, create your react app using:
npx create-react-app HamburgerMenuInstall styled-components dependency:
npm install styled-componentsNow if you want to create different file for your Hamburger Menu then you can, here I'm writing everything in the app.js file for this tutorial.
We will start by importing styled components.
import styled from "styled-components";Let's create one fixed rounded menu first. Name it as MenuLabel and create it using styled-components.
import React,{useState} from "react";
import "./styles.css";
import styled from "styled-components";


const MenuLabel = styled.label`
  background-color: #B6EDC8;
  position: fixed;
  top: 6rem;
  right: 6rem;
  border-radius: 50%;
  height: 7rem;
  width: 7rem;
  cursor: pointer;
  z-index: 1000;
  box-shadow: 0 1rem 3rem rgba(182, 237, 200, 0.3);
  text-align: center;
`;

export default function App() {

  return (
    <>
        <MenuLabel htmlFor="navi-toggle">
        Menu
      </MenuLabel>
    </>
  );
}
In the above code, we have created on rounded Menu using styled-component at line no 6 which is label tag in html.
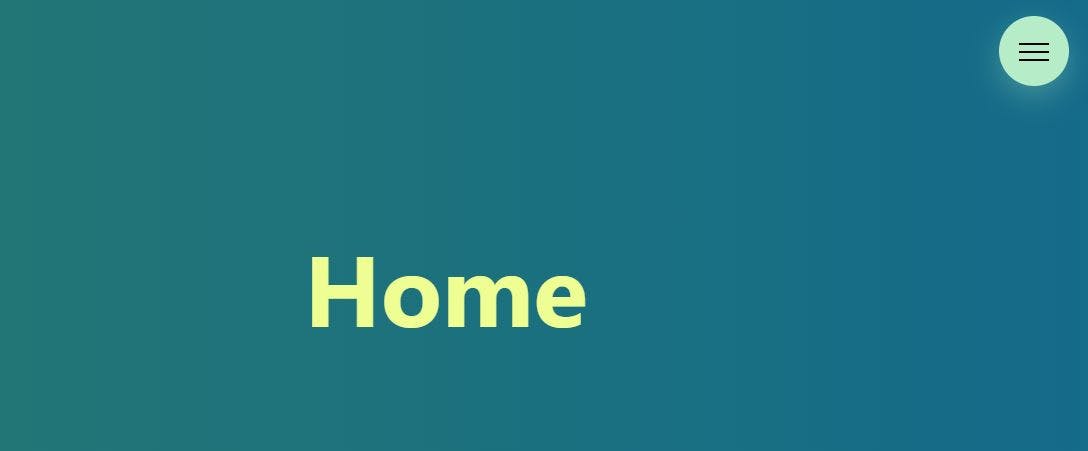
Output of this will look something like this:
Now we will create icon above this menu.
Remove Menu written inside of MenuLabel and create new component Icon as below:
<MenuLabel htmlFor="navi-toggle">
<Icon> </Icon>
</MenuLabel>Let's write CSS for this Icon component, which will be an span element.
const Icon = styled.span`
  position: relative;
  background-color: black;
  width: 3rem;
  height: 2px;
  display: inline-block;
  margin-top: 3.5rem;

  &::before,
  &::after {
    content: "";
    background-color: black;
    width: 3rem;
    height: 2px;
    display: inline-block;
    position: absolute;
    left: 0;
  }
  &::before {
    top: -0.8rem;
  }
  &::after {
    top: 0.8rem;
  }
`;
By only using width and height properties properly we can create simple horizontal lines.
We have copied our main line through before and after pseudo classes, and displayed one above the original and one below.
You can set separate width and height for all these three lines.
Now what we need is to create X with these 3 lines whenever someone clicks on it and to do that we have to:
- create state and handleClick method for setting state
- Pass this state as props in Icon component
- Use this props inside the styled-components that we have created
- Hide the middle line
- use transform and rotate for other two lines
import React,{useState} from "react";
import "./styles.css";
import styled from "styled-components";
const MenuLabel = styled.label`
background-color: #B6EDC8;
position: fixed;
top: 6rem;
right: 6rem;
border-radius: 50%;
height: 7rem;
width: 7rem;
cursor: pointer;
z-index: 1000;
box-shadow: 0 1rem 3rem rgba(182, 237, 200, 0.3);
text-align: center;
`;
const Icon = styled.span`
position: relative;
background-color: ${(props) => (props.clicked ? "transparent" : "black")};
width: 3rem;
height: 2px;
display: inline-block;
margin-top: 3.5rem;
transition: all 0.3s;
&::before,
&::after {
content: "";
background-color: black;
width: 3rem;
height: 2px;
display: inline-block;
position: absolute;
left: 0;
transition: all 0.3s;
}
&::before {
top: ${(props) => (props.clicked ? "0" : "-0.8rem")};
transform: ${(props) => (props.clicked ? "rotate(135deg)" : "rotate(0)")};
}
&::after {
top: ${(props) => (props.clicked ? "0" : "0.8rem")};
transform: ${(props) => (props.clicked ? "rotate(-135deg)" : "rotate(0)")};
}
`;
export default function App() {
const [click, setClick] = useState(false);
const handleClick = () => setClick(!click);
return (
<>
<MenuLabel htmlFor="navi-toggle" onClick={handleClick}>
<Icon clicked={click}> </Icon>
</MenuLabel>
</>
);
}As you can see in the above code, before return statement we have created one click state and handleClick method which will change the state.
In MenuLabel set onClick to handleClick method to change click
state.
state.
In the Icon pass state click as props clicked.(You can change prop
name clicked to anything you like)
name clicked to anything you like)
In styling Icon background-color use this props and put ternary condition like if props.clicked is true then background will be transparent else it will be black → by doing this we’re removing the middle line. To remove it smoothly add transition effect.
Now in &::before and &::after Set top to **”0"** when someone clicks on icon so that both of those lines came little bit down to form X.
At transform property This is where we rotate both of this lines to form a Cross(X). If someone clicks it then state becomes true so it lines will rotate to 135deg. we can set low degree to make cross but by using 135deg we can see more animation.
Put transition in &::before and &::after block so that both of this lines create smooth animation.
Now if you want hover effect then we can do it as below:
${MenuLabel}:hover &::before {
 top: ${(props) => (props.clicked ? “0” : “-1rem”)};
}
${MenuLabel}:hover &::after {
 top: ${(props) => (props.clicked ? “0” : “1rem”)};
}
As show in the above code, select MenuLabel then use :hover, which means whenever someone hovers on MenuLabel it affects before and after elements.
Before element will go little up while after will go little bit down.