Just HTML/css, no JavaScript, using Zola, pico.css, and CloudFlare
Introduction
It is 2026, so why on earth would anyone want the most basic website using only HTML/css for their blog? Well, I can list a few reasons:
- Walled garden: I post regularly to LinkedIn and X/Twitter, both of which are walled off to non-members. So, it is impossible to share the article if my audience is not inside those gardens. Medium used to be more open, but now they have paid tiers, thus more and more good articles are behind a pay wall.
- Risk of de-platform: We all know that if the platform doesn't like what we post, we can get censored or even de-platformed.
- Simplicity & Compatibility: I want my website to be simple, so I don’t have to set up bloatware like wordpress or fancy React/JavaScript frameworks. I want my website to be compatible with any browser, even stripped-down ones on feature phones.
- Cost: I can certainly self-host, but the monthly cloud cost can add up pretty quickly. I don’t want my blog to make money, so the cost has to be near zero as well.
In this article, I will go through my personal journey of building
My Requirements
Here are my requirements for the simple personal website solution in 2026:
Functional Requirements
- Personal blog: typically less than 1 article per week, dating back to around 2000. There are text, images, tables, and code blocks. And they are all static pages, which hardly ever change after being published.
- Content management: easy to manage, such as adding new articles, deleting old ones, and updating content occasionally
- Automation: hosted somewhere and automatically updates once I publish a new article
- Simplicity and compatibility: use the most basic HTML/css for maximal browser compatibility, do not use JavaScript or third party framework like React
- Mobile-friendly: should be easy to read either on a desktop or a mobile phone
Non-Functional Requirements:
- Speed: nimble and fast
- Aesthetics: clean and modern
- Open & free: based on open-source technology
The Building Blocks
Zola
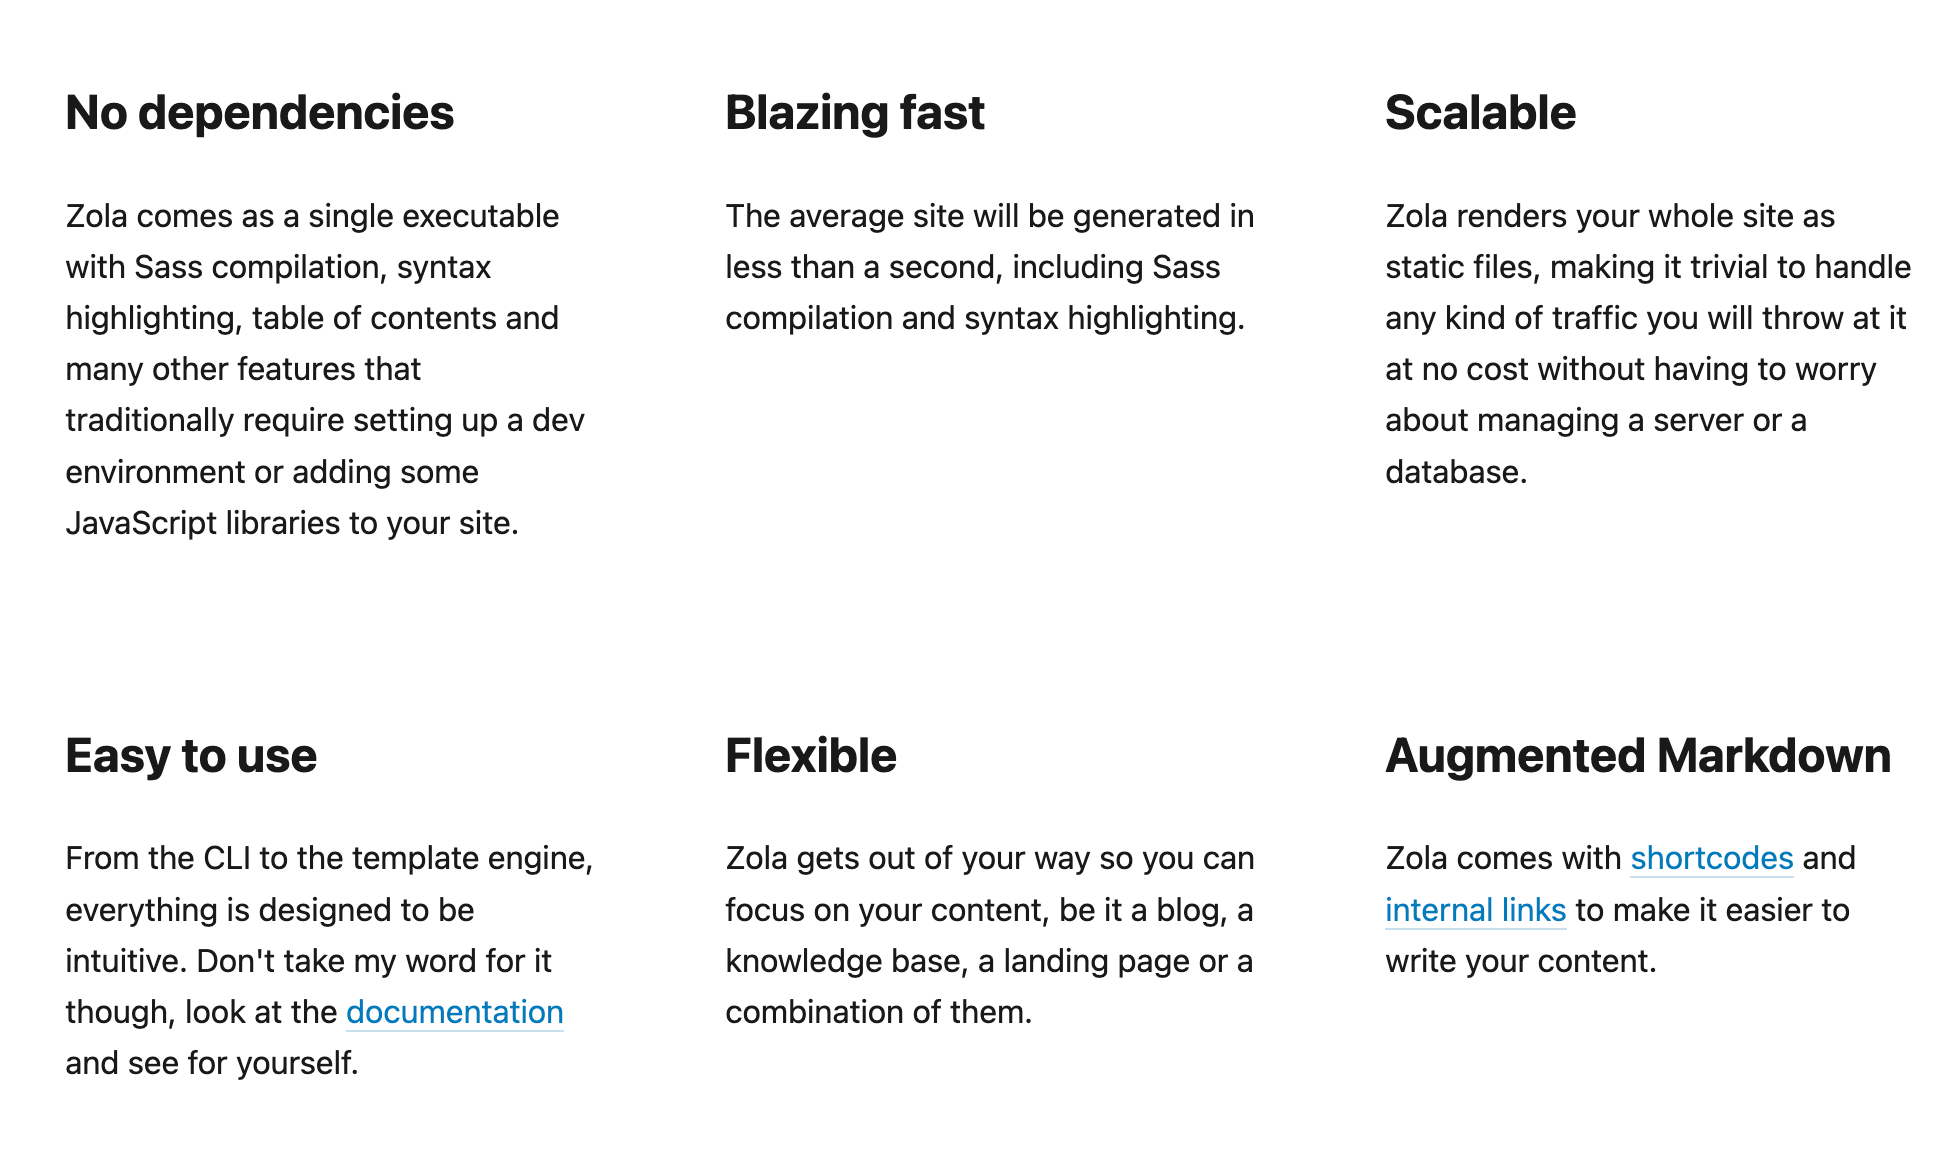
Pico.css
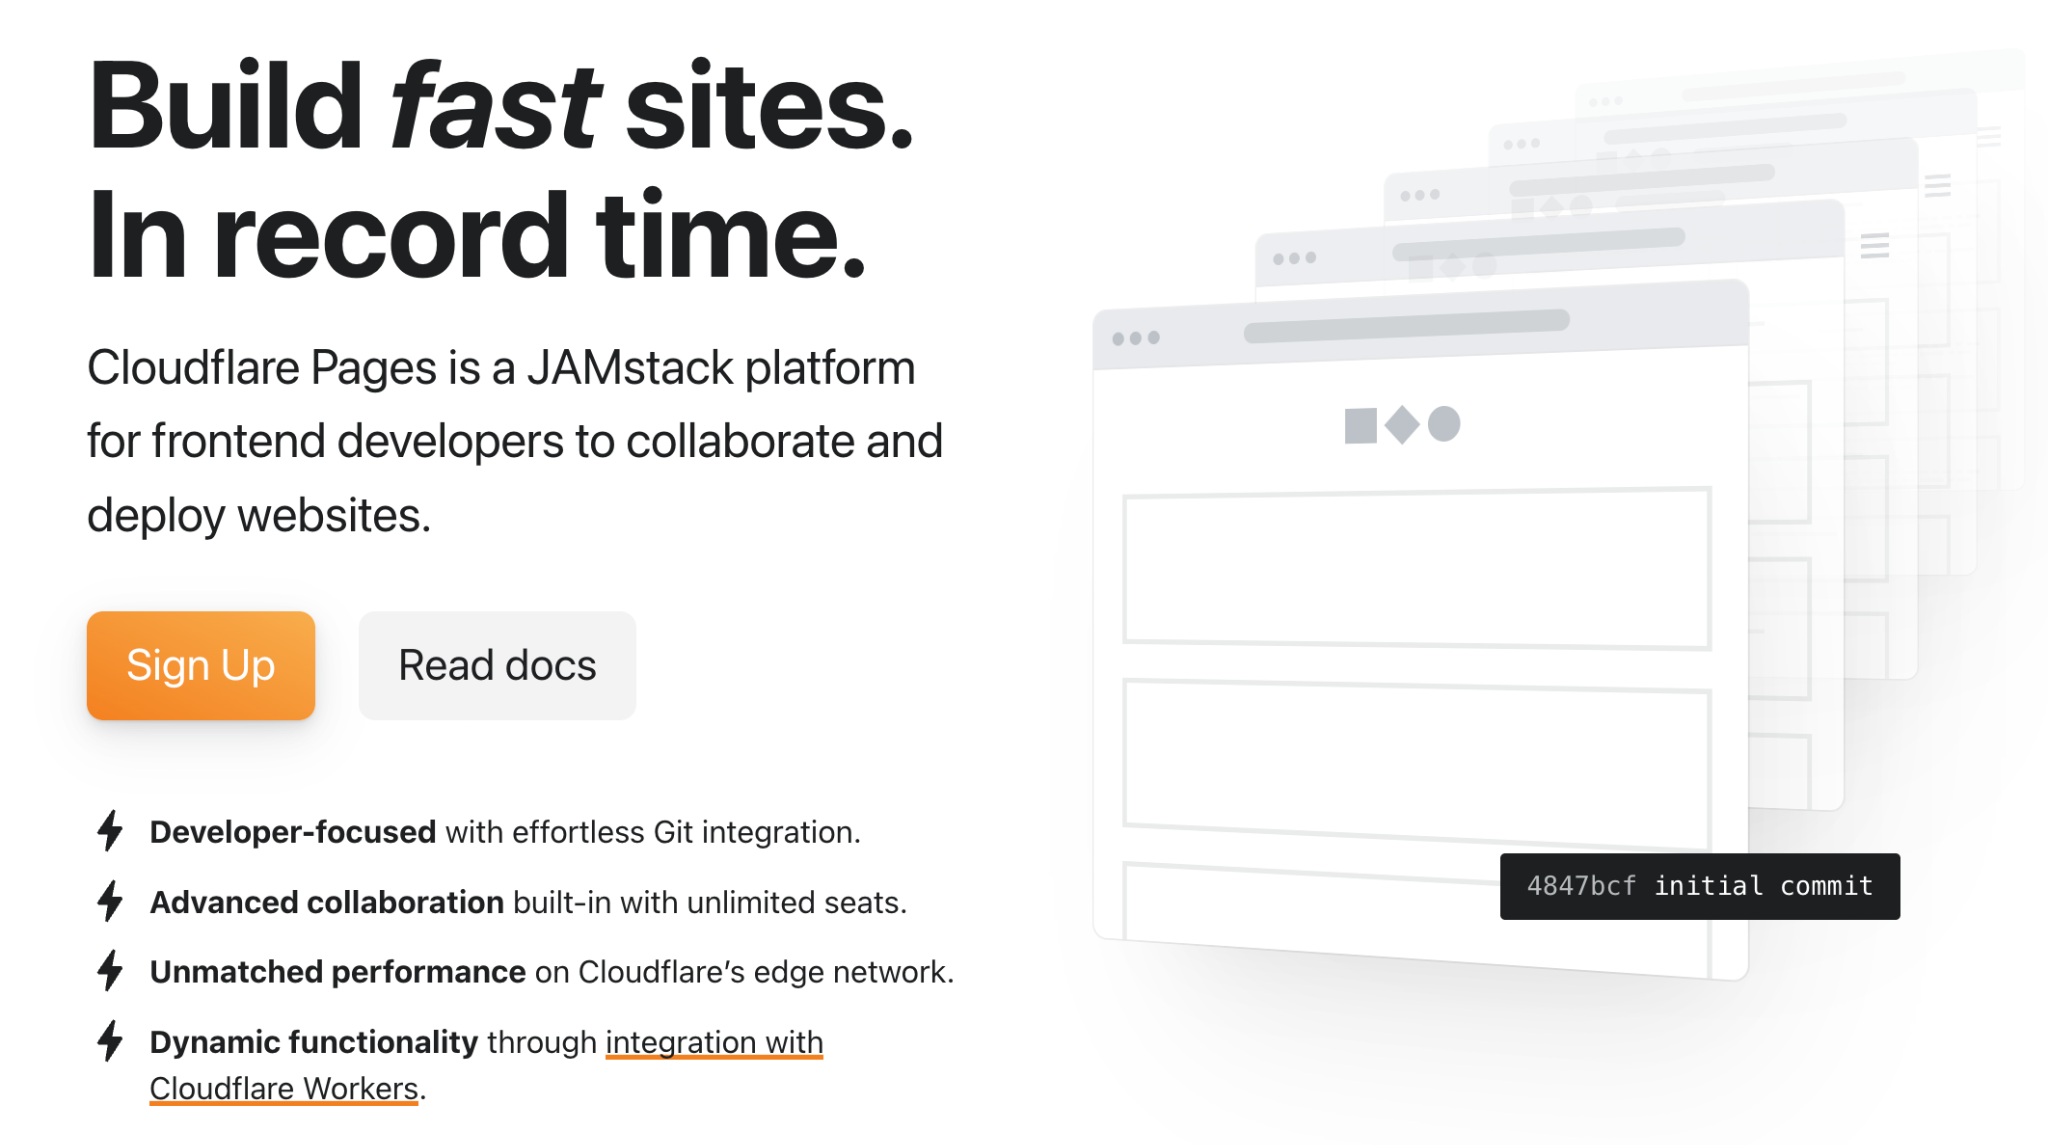
CloudFlare Workers (Previously Pages)
We know Cloudflare primarily as the most important content delivery network (CDN). Handling over 20% of all internet traffic and powering approximately 50% of managed DNS zones globally, plus fending off most DDoS attacks, its massive scale provides industry-leading performance and security. In short, it will be more than good enough for my paltry little blog site.
However, Cloudflare Pages has been “migrated” to
Getting Your Content Ready
The Lazy Way
I downloaded all my published articles and converted them to Zola format using an
Prepare Markdown
In order to use Zola, first I need to get all my content into the right format:
- Text in markdown file (.md)
- Subfolder of all images (jpg, png, gif)
If you are unfamiliar with markdown, you can head to this website for the most basic syntax. It is really easy, and you can get by with just the 10 most-used marks.
There are plenty of tools to convert your existing Google Doc or Microsoft Doc(x) files or HTML pages into markdown.
Zola Specific
First, you set up the Zola
# Install Zola (macOS)
brew install zola

# Install Zola (Linux)
# Download from https://github.com/getzola/zola/releases

# Run dev server
zola serve

# Build for production
zola build
After that, your local file structure will look like this:
bruces-blog/
├── config.toml          # Site configuration
├── content/
│   ├── _index.md        # Home page
│   ├── about.md         # About page
│   └── blog/
│       ├── _index.md    # Blog listing
│       └── *.md         # Blog posts
├── templates/           # Tera templates
├── static/css/          # Custom CSS
└── public/              # Generated site (git-ignored)
Next, you add small snippets of additional metadata into each blog post’s markdown files:
+++
title = "Post Title"
date = 2026-02-11
description = "Brief description"
[taxonomies]
tags = ["tag1", "tag2"]
+++

Your content here. Use `<!-- more -->` for summary break.
Note on use `<!-- more -->` for summary break. Anything before this summary break will appear in the preview of the article along with the title.
You definitely want to install and run the zola serve locally (in my case, macOS) to test out the site before committing the website to a wider audience. For example, I found one hiccup.
Zola version 0.22.1 is incompatible with older versions of config.toml, especially the markdown themes and highlighting. So, the modified config.toml will look like this:
# Bruce's Personal Blog
# Zola configuration

base_url = "https://zbruceli.org"
title = "Bruce Li"
description = "Personal blog and thoughts"
default_language = "en"
# No theme - using custom templates

# Compilation settings
compile_sass = false
build_search_index = false
generate_feeds = true
feed_filenames = ["rss.xml"]

[markdown]
[markdown.highlighting]
theme = "github-light"
error_on_missing_language = false

[extra]
author = "Bruce Li"
Git/GitHub for Version Management
Since we will be using GitHub repository linking directly to Cloudflare Workers, we need to:
- Get the local git ready: initiate, add files, and commit your first version
- Create the blog repository on GitHub: I kept it private, but it should be fine to keep it public as well (especially if you collaborate with other people on the blog)
- Sync your local files to remote on GitHub
You can find git/GitHub tutorial here:
Personal Domain Name
I reckon it is important for any personal blog to have its own unique domain name, for example, in my case,
I bought my domain from Google Domains, which eventually became part of
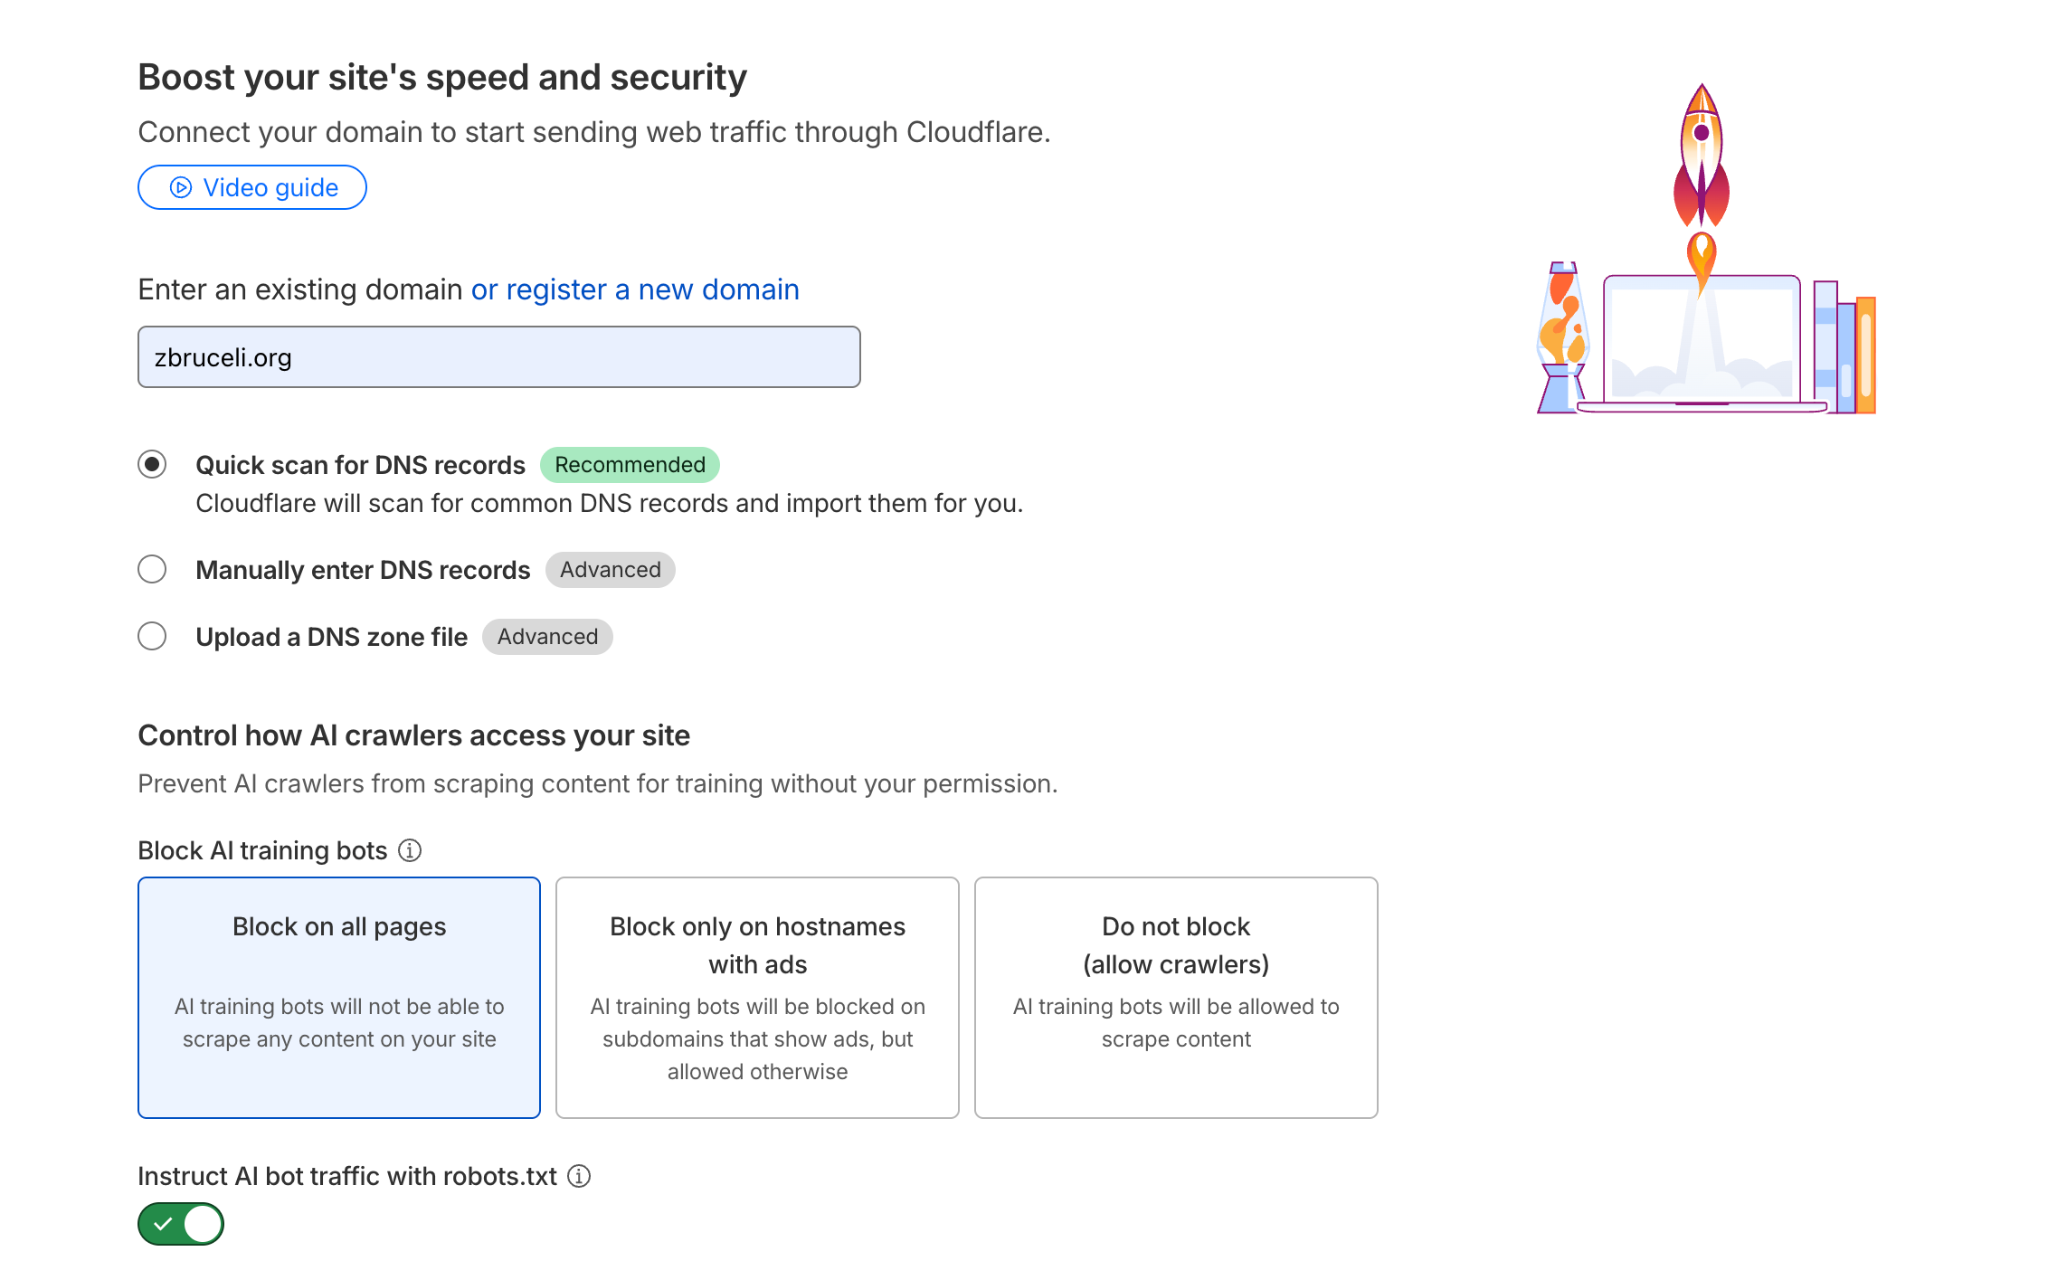
Add a Domain to Cloudflare
Add the domain to Cloudflare.
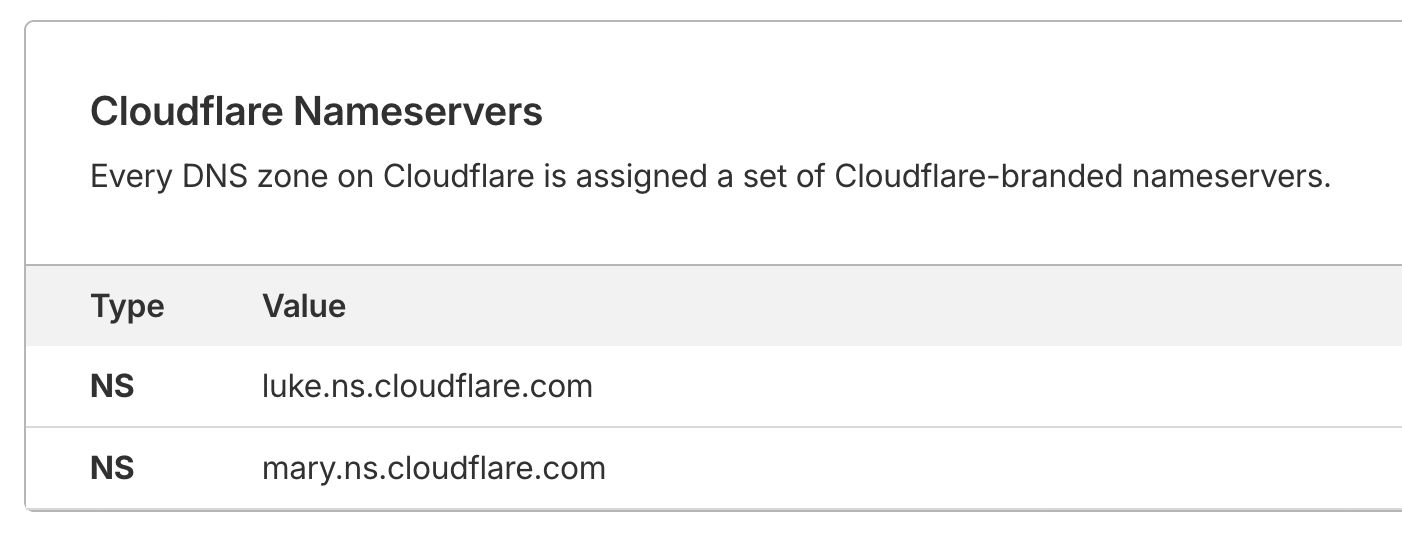
Find both name servers: they will be like
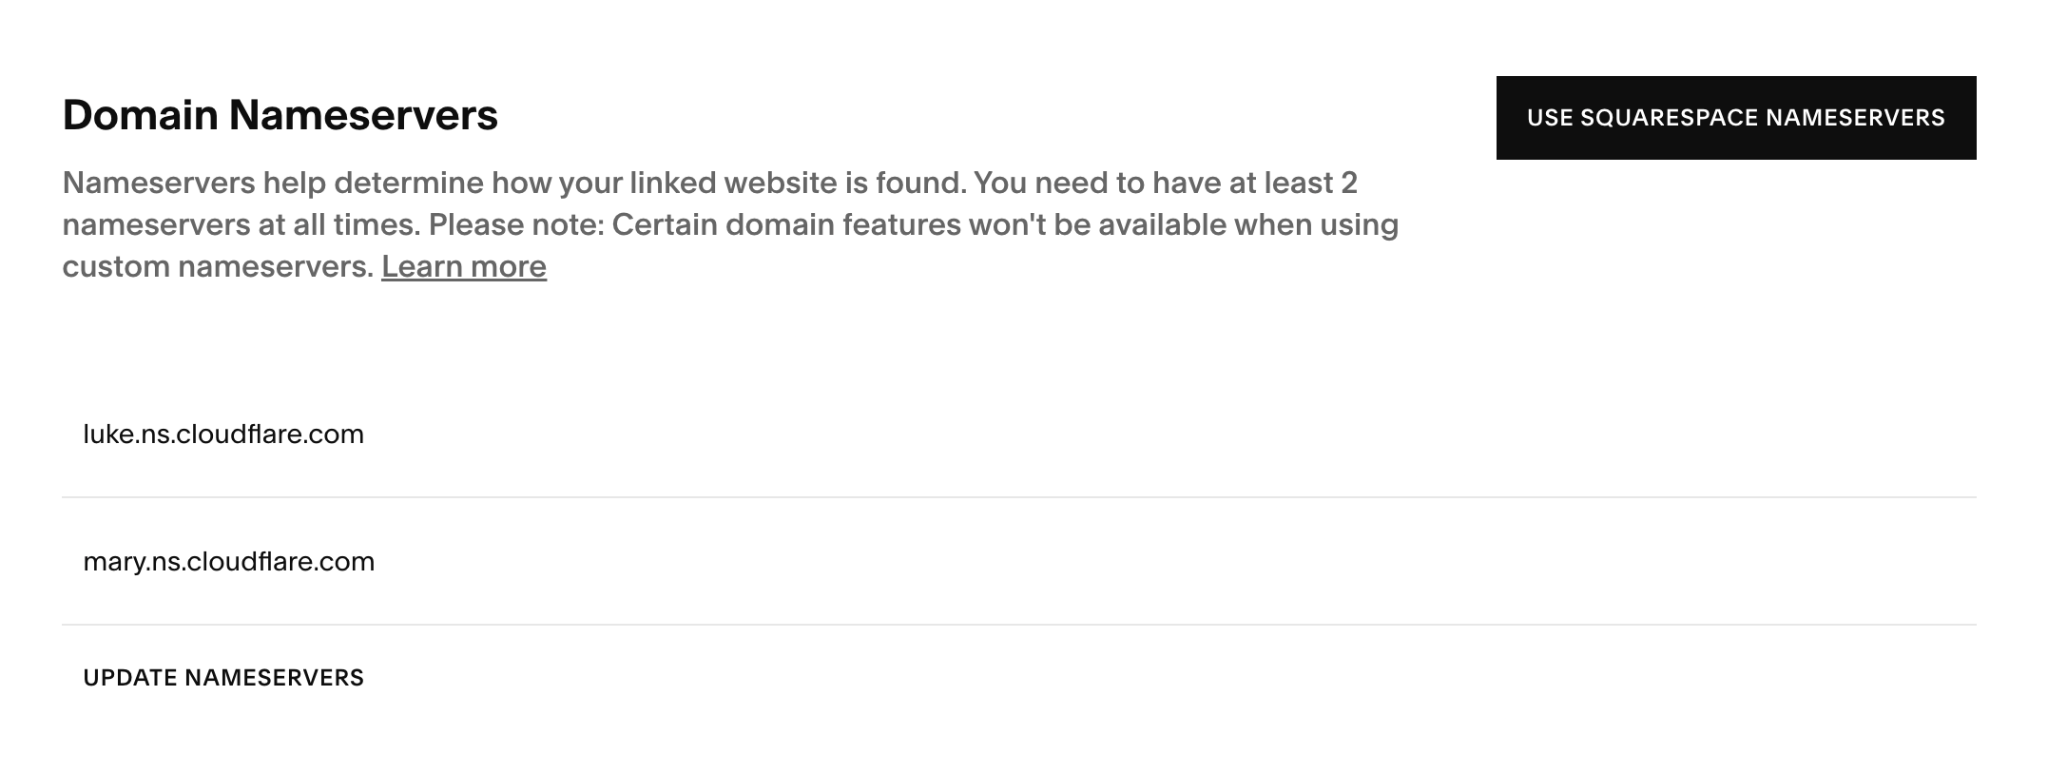
Update Domain Records on Squarespace
Basically, you will still pay Squarespace for the domain name, but everything else will be handled by Cloudflare from now on.
Configure name servers, delete all other servers (use 4 Google name servers).
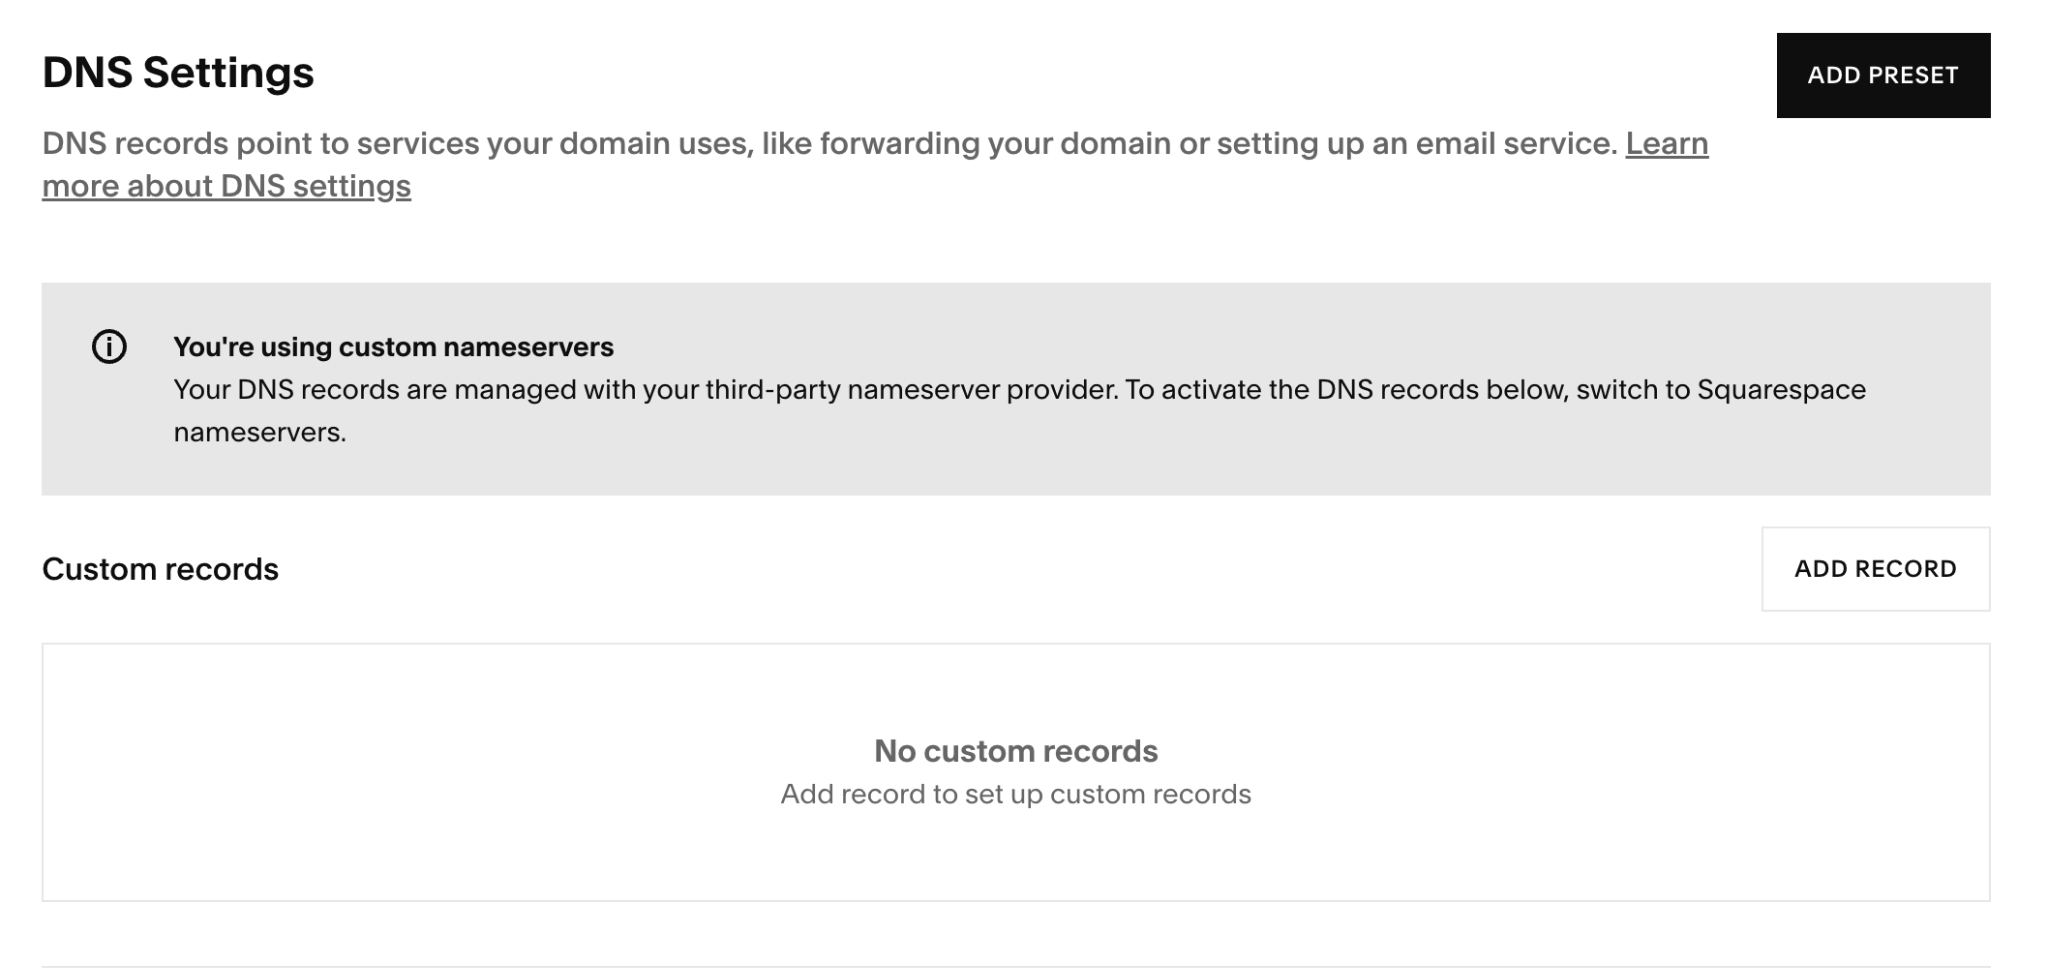
Delete all DNS records on Squarespace, since DNS will be managed by Cloudflare now.
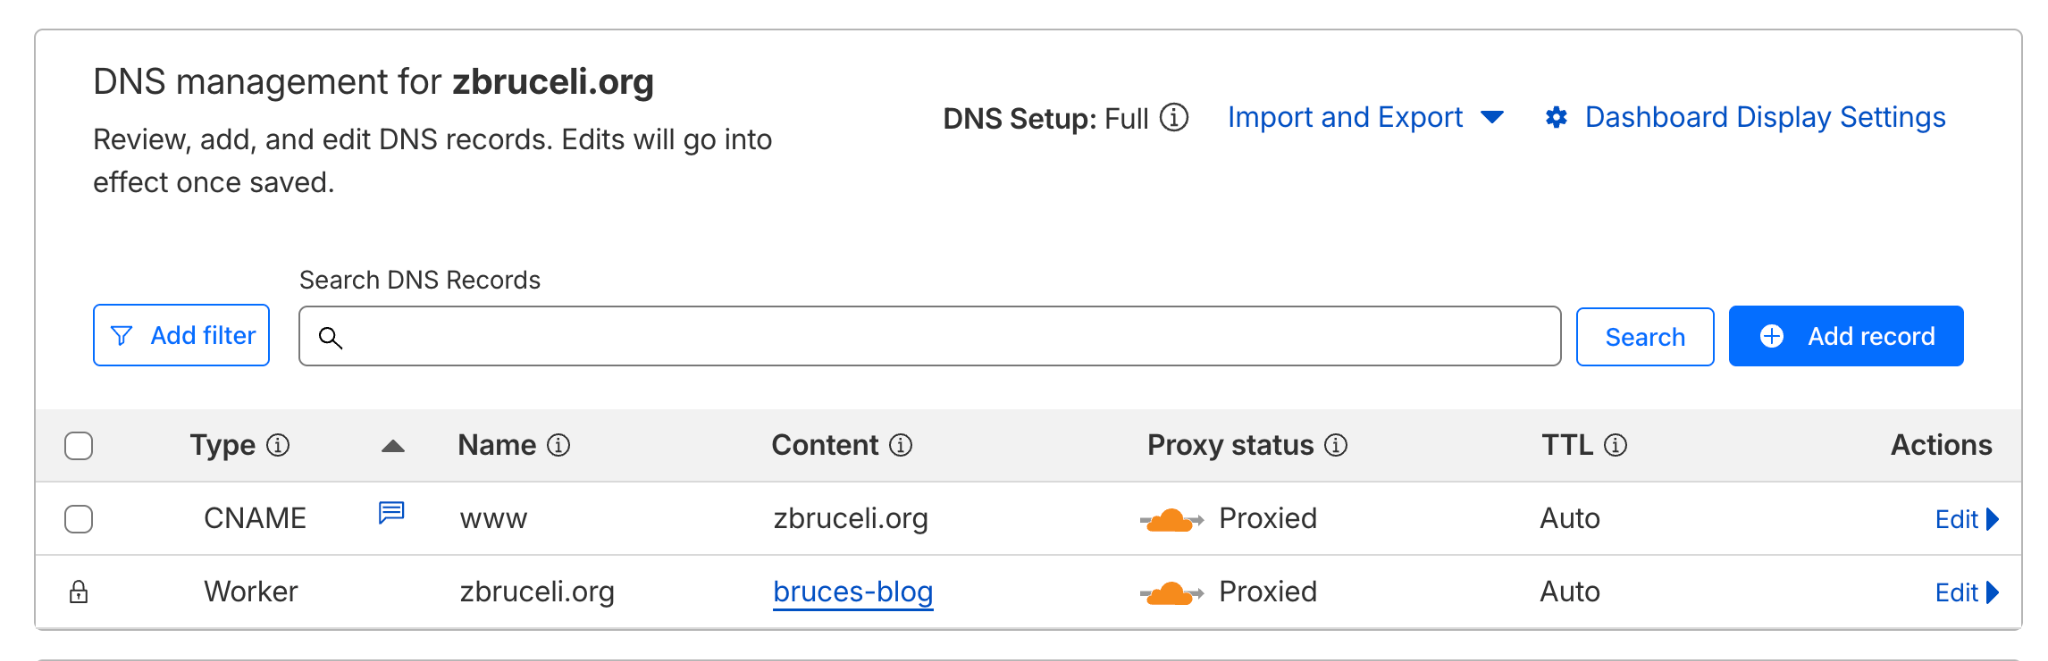
Add www Redirect
Add a CNAME for www to redirect to the root domain, since some browsers automatically add the www prefix to my website. I want to make sure both
Hosting and Deployment
Now, you should have the following ready:
- GitHut repository ready with your new blog site
- All domain name sorted out between your DNS seller (Squarespace) and DNS manager (Cloudflare)
We will move on to starting a new Cloudflare Worker that connects to your blog repository, auto-builds your website, and deploys on Cloudflare's global network.
Make Zola Work Again in Cloudflare Worker
Since the “upgraded” Cloudflare Worker no longer natively supports Zola, we need a workaround. I followed the following tutorial to add wrangler.toml (tells Cloudflare how to deploy the website) and
My chmod +x build.sh
#!/usr/bin/env bash

main() {
  ZOLA_VERSION=0.22.1

  export TZ=US/Pacific

  # Install Zola if not already in PATH
  if ! command -v zola &> /dev/null; then
    echo "Installing Zola ${ZOLA_VERSION}..."
    curl -sLJO "https://github.com/getzola/zola/releases/download/v${ZOLA_VERSION}/zola-v${ZOLA_VERSION}-x86_64-unknown-linux-gnu.tar.gz"
    mkdir "${HOME}/.local/zola"
    tar -C "${HOME}/.local/zola" -xf "zola-v${ZOLA_VERSION}-x86_64-unknown-linux-gnu.tar.gz"
    rm "zola-v${ZOLA_VERSION}-x86_64-unknown-linux-gnu.tar.gz"
    export PATH="${HOME}/.local/zola:${PATH}"
  else
    echo "Zola already installed, skipping installation..."
  fi

  # Verify installations
  echo "Verifying installations..."
  echo Zola: "$(zola --version)"

  # Build the site
  echo "Building the site..."
  zola build --minify
}

set -euo pipefail
main "$@"
My wrangler.toml looks like this. I need to remove the www pattern since it is already configured as a CNAME in the DNS record.
name = "zola-worker"
compatibility_date = "2026-02-11"

routes = [
  { pattern = "zbruceli.org", custom_domain = true }
]

[build]
command = './build.sh'

[assets]
directory = "./public/"
not_found_handling = "404-page"
Create Cloudflare Worker
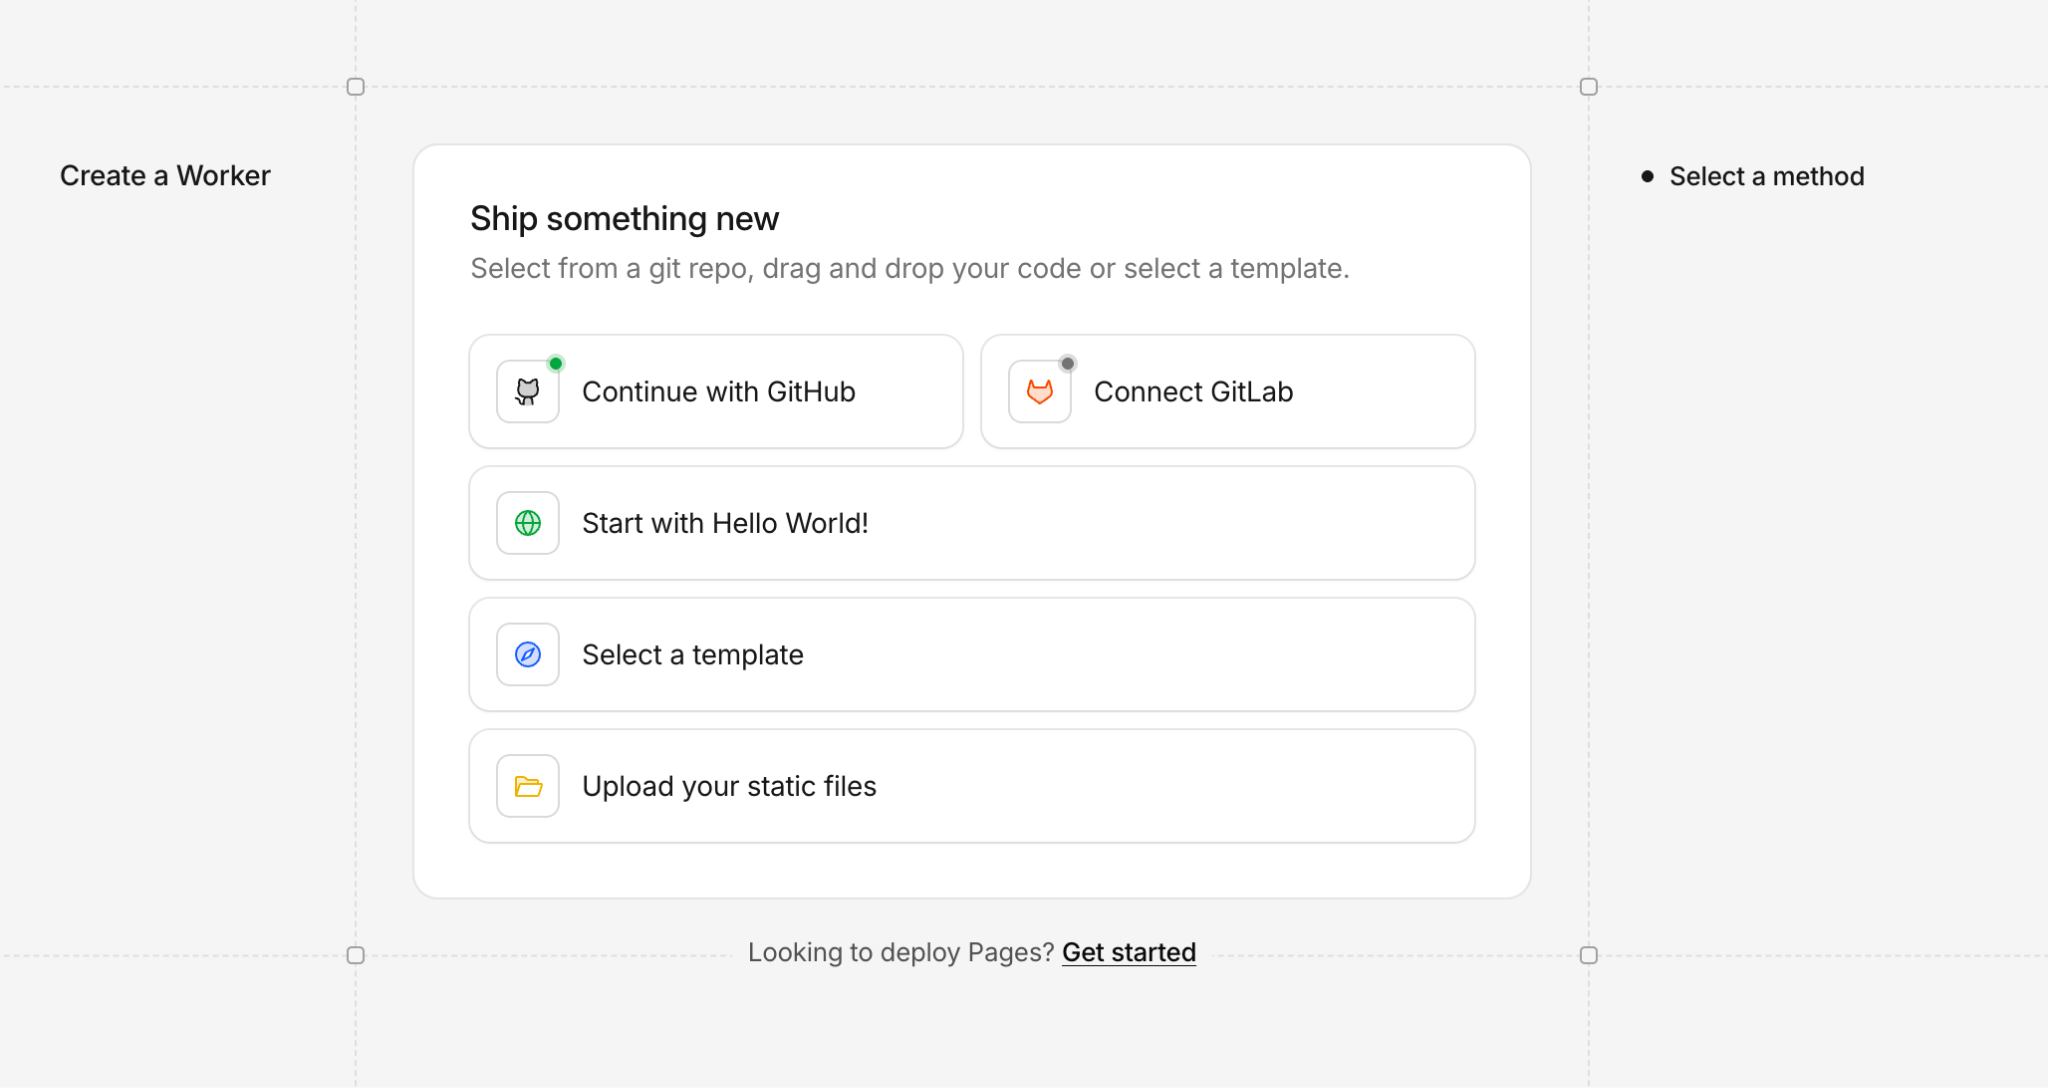
You can easily follow the “Cloudflare Workers & Pages” page to add a new worker, connect your worker to your GitHub blog repo, and use default settings (you do NOT need to specify build commands since wrangler.toml already specifies this)
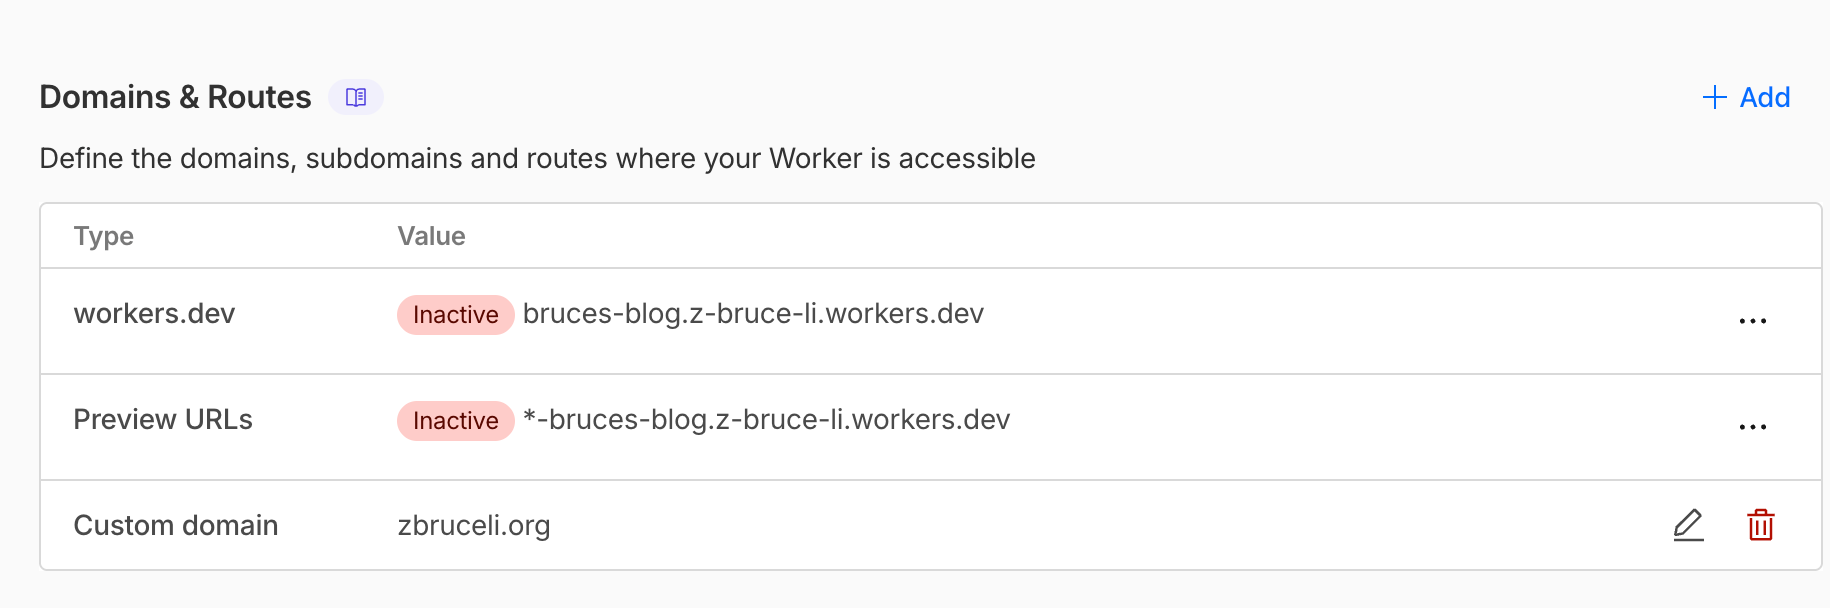
After you create the worker, it should automatically build and deploy. But there is one extra step: associate your personal domain with this worker by “add custom domain”:
One More Thing
To strictly follow my rule of "No Third Parties," I should not link to Pico.css via a public CDN (like jsDelivr). Instead, I should download the
Conclusions
Now you have it, the minimalist personal blog website built in 2026 that can handle millions of views per day (if you get that popular). It is simple and elegant, super fast, and renders on my phone browser just fine. I can manage my blog content fairly easily, and they live on both local files and GitHub for the rest of human history. Nobody can paywall your content or deplatform you. And for the time being, it costs me nothing.
[story continues]
tags