Introduction
During the course of developing your projects, you may need to make changes to your initial database schemas. The database schemas define the structure of data stored in the database. To make these changes in a way that avoids losing existing data, you'll require the use of Database migration.
Database migration is simply the process of making version-controlled and reversible modifications to database schemas. Database migration allows you to safely make changes to your schemas and revert these changes if the need arises.
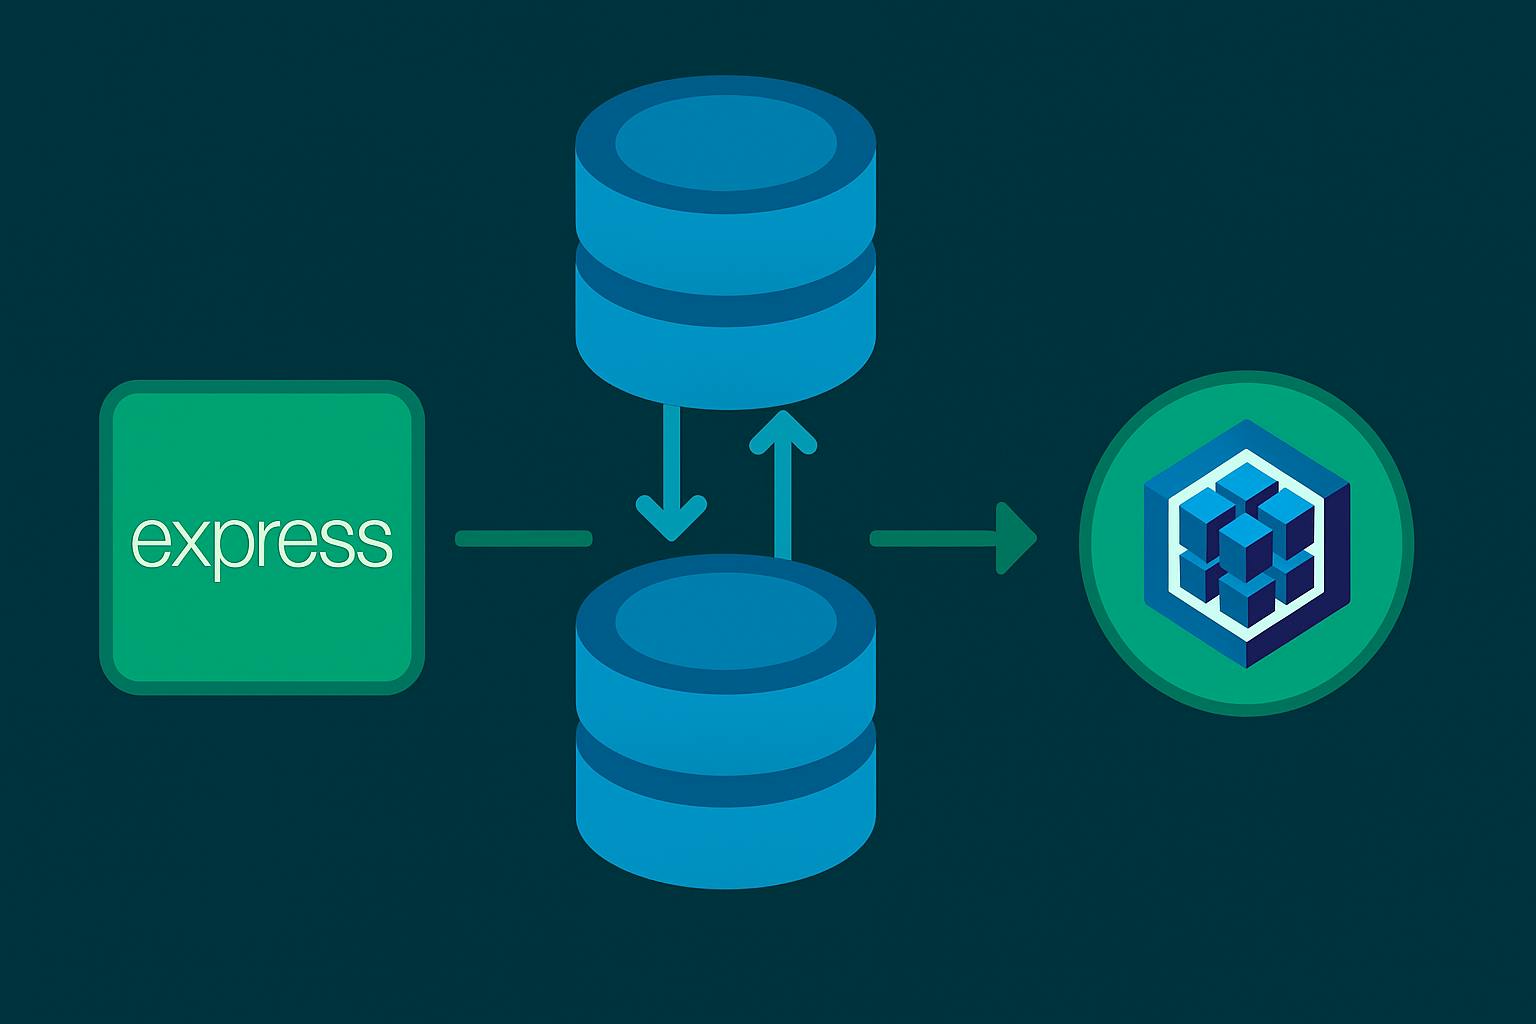
In this tutorial, you will learn how to implement database migration in your Express and Postgres application. You will learn how to create migration files, commit changes from the migration files to the database, and revert changes made to the database. You will learn how to do all this using the Sequelize Command-Line Interface (CLI) and the Umzug library. You will also learn how to populate your database with test or dummy data.
Prerequisites
To follow along with this tutorial, you'll require the following:
-
A text editor (e.g., VS Code)
-
NodeJS installed on your computer
-
Basic knowledge of Express
-
Basic knowledge of Git
-
A Postgres instance running either locally or remotely
-
An API client (e.g., Postman)
Project Setup
Let's begin by setting up the project you'll be working on. To keep the article concise, this tutorial builds on the Task Manager API created in the previous tutorial.
- Clone the Base Project: The first step is to clone the Task Manager API repository and navigate into the project folder:
git clone https://github.com/michaelikoko/tasks-manager-api.git
cd tasks-manager-api
- Install Dependencies: Install the necessary project dependencies listed in
package.json:
npm install
- Check Project Structure: After installation, you should have a project structure that looks like this:
- Database Setup: As stated in the prerequisites, ensure you have a Postgres instance running locally or remotely. Create a new database and store the database connection string in a
.envfile at the root directory:
PORT=5000
DATABASE_URL=postgresql://user:password@localhost:5432/mydatabase
Migrations with Sequelize CLI
In this section, you will learn how to handle migrations using the Sequelize Command-Line Interface(sequelize-cli). You will learn how to set up sequelize-cli, how to make and revert changes to the schema using a migration file, and some commands used by sequelize-cli to handle migrations.
Set Up Sequelize CLI
- Install the Sequelize CLI using a package manager:
npm install --save-dev sequelize-cli
- Set up Sequelize CLI in the project using the
initcommand:
npx sequelize-cli init
This command creates the necessary folders required by Sequelize CLI: config, models, migrations, and seeders. If any of these folders exist before running the command(as in our case with models), Sequelize CLI does not overwrite them, but instead generates the missing ones.
3. Lastly, you configure how Sequelize CLI connects to the database. By default, Sequelize CLI generates a config/config.json file, which you can make use of if you want to hardcode database credentials. However, in this tutorial, you'll make use of dynamic configuration to access the database URL, which will be stored as an environment variable from .env.
- In the
configfolder, deleteconfig.json, and createconfig.jswith the following contents:
require('dotenv').config();

const {DATABASE_URL} = require('../utils/config');

module.exports = {
  development: {
    url: DATABASE_URL,
    dialect: 'postgres',
    seederStorage: "sequelize",
    seederStorageTableName: "SequelizeData"
  }
};
For simplicity in this tutorial, you are only focusing on the development environment.
- You need to provide the path to
config.jsto Sequelize CLI . In the project's root directory, create the.sequelizercconfiguration file with the following content:
// .sequelizerc
const path = require('path');

module.exports = {
  config: path.resolve('config', 'config.js'),
  'models-path': path.resolve('models'),
  'seeders-path': path.resolve('seeders'),
  'migrations-path': path.resolve('migrations'),
};
Generate Migration Files
Now that you have configured Sequelize CLI, you can proceed to create the first migration file for the task model. A migration file in Sequelize is a JavaScript file that controls how to implement and revert migrations. In a typical migration file, you export two functions:
-
up: Theupfunction contains logic for modifying the database to a new state. -
down: Thedownfunction contains logic for reverting the changes made in theupfunction.
Both the up and down functions have two parameters:
queryInterface: ThequeryInterfaceobject is usually the first parameter. The object is an instance of theQueryInterfaceclass. TheQueryInterfacecontains methods that Sequelize uses to communicate with databases. The object has the following methods:
-
queryInterface.createTable: creates a new table -
queryInterface.addColumn: adds a column to a table -
queryInterface.changeColumn: changes the properties of a column -
queryInterface.removeColumn: removes a column -
queryInterface.bulkInsert: inserts multiple data into a table -
queryInterface.bulkDelete: deletes multiple data from a tableFor a full list of available methods, visit the QueryInterface API section of the Sequelize documentation.
Sequelize: TheSequelizeobject is usually the second parameter, and it contains all the provided data types, for exampleSTRING,INTEGER,BOOLEAN, and so on. You can use themigration:generatecommand to generate a migration file, which is saved in themigrationsfolder . Use the following command in a terminal to generate thecreate-task-tablemigration file:
npx sequelize-cli migration:generate --name create-task-table
Replace the contents of the just created migration file: XXXXXXXXXXXXXX-create-task-table.js with the following:
"use strict";

/** @type {import('sequelize-cli').Migration} */
module.exports = {
  async up(queryInterface, Sequelize) {
    await queryInterface.createTable("Tasks", {
      id: {
        type: Sequelize.DataTypes.INTEGER,
        autoIncrement: true,
        primaryKey: true,
      },
      title: {
        type: Sequelize.DataTypes.STRING,
        allowNull: false,
      },
      completed: {
        type: Sequelize.DataTypes.BOOLEAN,
        defaultValue: false,
      },
      createdAt: {
        type: Sequelize.DataTypes.DATE,
        allowNull: false
      },
      updatedAt: {
        type: Sequelize.DataTypes.DATE,
        allowNull: false
      }
    });
  },

  async down(queryInterface, Sequelize) {
    await queryInterface.dropTable("Tasks");
  },
};
The XXXXXXXXXXXXXX-create-task-table.js migration file is responsible for creating the Task table in the database. In the up function, you make use of the queryInterface.createTable method to create the table by passing the name of the database table(Task), and an object of the table properties(similar to defining a model in Sequelize). If you were to revert the changes made by this migration file, in the down function, you make use of the queryInterface.dropTable method to remove the Task table from the database.
Run Migrations
The migration files need to be run in order to execute the changes in the database. You can do that by using the db:migrate command:
npx sequelize-cli db:migrate
The db:migrate command does the following:
- Firstly, it creates a table named
SequelizeMetain the database if it doesn't exist. Sequelize CLI makes use of theSequelizeMetatable to keep a record of the migrations that have been run on the database. - Secondly, it searches for any migration file that has not been run. This is determined by checking migration files in the
migrationfolder against the files recorded in theSequelizeMetatable. - Lastly, it executes the content of all migration files that have not been run. The commands in the
upfunction of the migration file are being executed.
You can use the --name flag to run an individual migration file only. For example, to run only the XXXXXXXXXXXXXX-create-task-table.js migration file:
npx sequelize-cli db:migrate --name XXXXXXXXXXXXXX-create-task-table.js
Modifying an Existing Model
Where the importance of using migrations really shines is when you need to make changes to the schema of an existing database model. Migrations allow you to safely make changes to the database schema while ensuring data integrity. And if need arises, you can safetly revert changes made to the schema.
For example, you're going to make a change to the Task model schema in the Task manager API. You are going to add a dueDate column to the schema. This can be done in the following steps:
- Create the migration file using the
migration:generatecommand:
npx sequelize-cli migration:generate --name add-dueDate-column
- Replace the content of the generated migration file
XXXXXXXXXXXXXX-add-dueDate-column.jswith the following:
'use strict';

/** @type {import('sequelize-cli').Migration} */
module.exports = {
  async up (queryInterface, Sequelize) {
    await queryInterface.addColumn("Tasks", "dueDate", {
      type: Sequelize.DataTypes.DATE,
      allowNull: true
    })
  },

  async down (queryInterface, Sequelize) {
    await queryInterface.removeColumn("Tasks", "dueDate")
  }
};
- Add the
dueDatecolumn to theTaskmodel schema inmodels/task.js:
const {Model, DataTypes} = require("sequelize")
const {sequelize} = require("../utils/db")

class Task extends Model {}

Task.init({
    id: {
        type: DataTypes.INTEGER,
        autoIncrement: true,
        primaryKey: true
    },
    title: {
        type: DataTypes.STRING,
        allowNull: false
    },
    completed: {
        type: DataTypes.BOOLEAN,
        defaultValue: false
    },
    dueDate: {
        type: DataTypes.DATE,
        allowNull: true
    }
}, {
    sequelize,
    modelName: "Task",
    timestamps: true,
    underscored: false,
    defaultScope: {
        attributes: {
            exclude: ["createdAt", "updatedAt"]
        }
    }
})

module.exports = Task
- You would want to make sure that the due date can be added when creating new tasks through the API endpoint. Make the following changes to the controller logic in
index.js:
//...

app.post("/api/tasks", async (req, res) => {
  const { title, dueDate } = req.body;
  if (!title) {
    return res.status(400).json({ message: "Title is required" });
  }

  const dueDateObj = dueDate ? new Date(dueDate) : null;

  if (dueDateObj == "Invalid Date") {
    return res.status(400).json({ message: "Invalid due date format" });
  }

  if (dueDateObj && dueDateObj < new Date()) {
    return res.status(400).json({ message: "Due date cannot be in the past" });
  }

  const task = await Task.create({ title, dueDate: dueDateObj });

  res.status(201).json({
    message: "Task created successfully",
    task,
  });
});

//...
- Lastly, run the migration file using the
db:migratecommand:
npx sequelize-cli db:migrate
Revert Migrations
Database migration gives you the ability to safely revert changes made to the database. Sequelize CLI provides various commands that can be used to revert migration changes:
- You can undo the most recent migration with the
db:migrate:undocommand:
npx sequelize-cli db:migrate:undo
- You can undo all migrations made and return to the initial state with the
db:migrate:undo:allcommand:
npx sequelize-cli db:migrate:undo:all
- You can also use the
db:migrate:undo:allcommand to return to a particular migration by passing the migration file name with the--toflag. For example, to revert back to theXXXXXXXXXXXXXX-create-task-table.jsmigration:
npx sequelize-cli db:migrate:undo:all --to XXXXXXXXXXXXXX-create-task-table.js
Seeding Data with Sequelize CLI
Database seeding is the technique of populating your database with existing, often dummy data, for testing or development purposes. Sequelize provides a way to seed your database in your Express application using seeders. Seeders are scripts that allow you to populate your database with sample data.
In this section, you will learn how to generate seed files, run seeds, and undo seeds using Sequelize CLI.
Generate a Seeder
To create a seed file, you can use the seed:generate command, passing the name of the seed file to the --name flag. The command saves the generated seed file in the seeders folder. The seed file has the structure with migration files, using the same up and down functions.
You can proceed to create a seed file for the Task Manager API that will populate the Tasks table with sample task data. To create the file, use the following command:
npx sequelize-cli seed:generate --name sample-tasks
This command will create the following file in the seeders folder: XXXXXXXXXXXXXX-sample-tasks.js. The XXXXXXXXXXXXXX-sample-tasks.js file should have the following contents:
"use strict";

/** @type {import('sequelize-cli').Migration} */
module.exports = {
  async up(queryInterface, Sequelize) {
    await queryInterface.bulkDelete("Tasks", null, {}); // First, clear the Tasks table

    await queryInterface.bulkInsert(
      "Tasks",
      [
        {
          title: "Finish project proposal",
          dueDate: new Date("2025-09-15"),
          createdAt: new Date(),
          updatedAt: new Date(),
        },
        {
          title: "Team meeting",
          dueDate: new Date("2025-09-17"),
          createdAt: new Date(),
          updatedAt: new Date(),
        },
        {
          title: "Code review",
          dueDate: null,
          createdAt: new Date(),
          updatedAt: new Date(),
        },
        {
          title: "Update documentation",
          dueDate: new Date("2025-09-20"),
          createdAt: new Date(),
          updatedAt: new Date(),
        },
        {
          title: "Refactor legacy code",
          dueDate: null,
          createdAt: new Date(),
          updatedAt: new Date(),
        },
      ],
      {}
    );
  },

  async down(queryInterface, Sequelize) {
    await queryInterface.bulkDelete("Tasks", null, {});
  },
};
Run Seeders
In order to effect the changes to the database, you need to run the seed file. Sequelize CLI provides the db:seed command to run seed files.
To run all seed files in the seeders folders, you use the following command:
npx sequelize-cli db:seed:all
You can also run a particular seed file by using the --seed flag and specifying the name of the file. For example, to only run the seed file XXXXXXXXXXXXXX-sample-tasks.js:
npx sequelize-cli db:seed --seed XXXXXXXXXXXXXX-sample-tasks.js
Revert Seeders
Sequelize CLI also provides various commands that revert any changes made by seed files:
- You can use the following command to undo all seeds:
npx sequelize-cli db:seed:undo:all
- You can use the following command to undo a specific seed file, for example,
20250913081512-sample-tasks.js:
npx sequelize-cli db:seed:undo --seed 20250913081512-sample-tasks.js
- You can use the following command to undo the most recent seed:
npx sequelize-cli db:seed:undo
Migrations with Umzug
So far in the tutorial, you have used the Sequelize CLI tool to run migrations. If you require more control on how migrations are performed and want to run them manually, you can make use of the Umzug library.
Umzug is described as:
Framework agnostic migration tool for Node.js
Set Up Umzug
- Start by installing the
umzuglibrary:
npm install umzug
- Create the
migratorConfigconfiguration object. You use this object to configure an Umzug instance by passing it to the constructor. Edit theutils/db.jsfile as follows:
//...

const { Umzug, SequelizeStorage } = require("umzug");

const migratorConfig = {
  migrations: {
    glob: "migrations/*.js",
  },
  storage: new SequelizeStorage({ sequelize, tableName: "SequelizeMeta" }), // Store performed migration files
  context: sequelize.getQueryInterface(),
  logger: console,
};
// ...
- Create the
runMigrationsfunction. The performs migrations on migration files found in themigrationsfolder. In themigratorConfigobject, you tell Sequelize to keep track of migrations that have been executed, so therunMigrationsfunction doesn't do anything if there are no new migration files. Add the following piece of code toutils/db.js:
// ...

const runMigrations = async () => {
  await sequelize.authenticate();
  const migrator = new Umzug(migratorConfig);

  const migrations = await migrator.up();
  console.log("Migrations up to date", {
    files: migrations.map((mig) => mig.name),
  });
};
- Create the
undoMigrationsfunction that reverts the previous migration. Add the following piece of code toutils/db.js:
//...

const undoMigrations = async () => {
  await sequelize.authenticate();
  const migrator = new Umzug(migratorConfig);

  const migrations = await migrator.down();
  console.log("Migrations reverted", {
    files: migrations.map((mig) => mig.name),
  });
};

// ...
Finally, the utils/db.js file should look like this:
const Sequelize = require("sequelize");
const { DATABASE_URL } = require("./config");
const { Umzug, SequelizeStorage } = require("umzug");

const sequelize = new Sequelize(DATABASE_URL);

const connectToDB = async () => {
  try {
    await sequelize.authenticate();
    console.log("Database connection established successfully.");
  } catch (error) {
    console.log("Unable to connect to the database:", error);
    return process.exit(1);
  }
  return null;
};

const migratorConfig = {
  migrations: {
    glob: "migrations/*.js",
  },
  storage: new SequelizeStorage({ sequelize, tableName: "SequelizeMeta" }), // Store performed migration files
  context: sequelize.getQueryInterface(),
  logger: console,
};

const runMigrations = async () => {
  await sequelize.authenticate();
  const migrator = new Umzug(migratorConfig);

  const migrations = await migrator.up();
  console.log("Migrations up to date", {
    files: migrations.map((mig) => mig.name),
  });
};

const undoMigrations = async () => {
  await sequelize.authenticate();
  const migrator = new Umzug(migratorConfig);

  const migrations = await migrator.down();
  console.log("Migrations reverted", {
    files: migrations.map((mig) => mig.name),
  });
};

module.exports = {
  connectToDB,
  sequelize,
  runMigrations,
  undoMigrations,
};
-
Create two files in the
utildirectory:runMigrations.jsandundoMigrations.js. These files will allow you to set up npm scripts to execute therunMigrationsandundoMigrationsfunctions created.The
util/runMigrations.jsfunction should have the following contents:
const { runMigrations } = require("./db");

runMigrations();
The util/undoMigrations.js function should have the following contents:
const { undoMigrations } = require("./db");

undoMigrations();
- Lastly, create the npm scripts in
package.json:
{
  //...
  "scripts": {
    "test": "echo \"Error: no test specified\" && exit 1",
    "dev": "nodemon index.js",
    "start": "node index.js",
    "migration:up": "node utils/runMigrations.js",
    "migration:down": "node utils/undoMigrations.js"
  }
  //...
}
Run Migrations with Umzug
When using the Umzug library to run migrations, you will manually create the migration files, as the ones created using the Sequelize CLI command migration:generate won't work.
For example, the XXXXXXXXXXXXXX-add-dueDate-column.js migration file, which adds the dueDate column to the Tasks table, should look like this when executed using Umzug:
const { DataTypes } = require("sequelize");

module.exports = {
  async up({ context: queryInterface }) {
    await queryInterface.addColumn("Tasks", "dueDate", {
      type: DataTypes.DATE,
      allowNull: true,
    });
  },

  async down({ context: queryInterface }) {
    await queryInterface.removeColumn("Tasks", "dueDate");
  },
};
To run the migration file, you make use of the migration:up npm script you set up in package.json, which calls the runMigrations function:
npm run migration:up
Revert Migrations with Umzug
To undo the last migration, you make use of the migration:down npm script that calls the undoMigration function:
npm run migration:down
Conclusion
At the end of this tutorial, you learnt the importance of using database migrations when developing your applications. You learnt how to use the Sequelize CLI to generate migration files, execute migrations, and revert changes made to the database. You also learnt how to use the Sequelize CLI to create seed files in order to populate your database with sample data. Lastly, you learnt how to run migrations manually using the Umzug library.
The code for this tutorial can be found on GitHub.
To learn more about database migrations, visit the following resources: