I recently challenged myself to build a working prototype of a food visualization service in a single weekend. The idea was simple: take a menu screenshot, extract dish names, and generate realistic food images with the help of modern AI tools.
In this post, I’ll walk through how I combined OCR (Tesseract), OpenAI’s API, and image generation models to create a fully working demo — including a GitHub repo and a live version you can try.
🥘 The Idea
Input: `Grilled salmon with mango salsa and jasmine rice`
Output: A realistic image of that dish, suitable for a menu or delivery app.
Use cases:
- Restaurants or ghost kitchens without designers
- Users navigating foreign-language menus
- Rapid prototyping for food tech startups
🔧 Stack
Frontend:
- Lovable.dev — landing page
- React (TypeScript): Modern UI framework
- Vite: Fast development server and build tool
- Tesseract.js: Client-side OCR for text extraction
- Axios: HTTP client for API requests
- Tailwind CSS: Utility-first CSS framework
Backend:
- Python Flask: Simple backend API server
- OpenAI API: GPT-3.5-turbo for menu analysis
- Replicate API: Stable Diffusion (512x512) for image generation
- Flask-CORS: Cross-origin resource sharing support
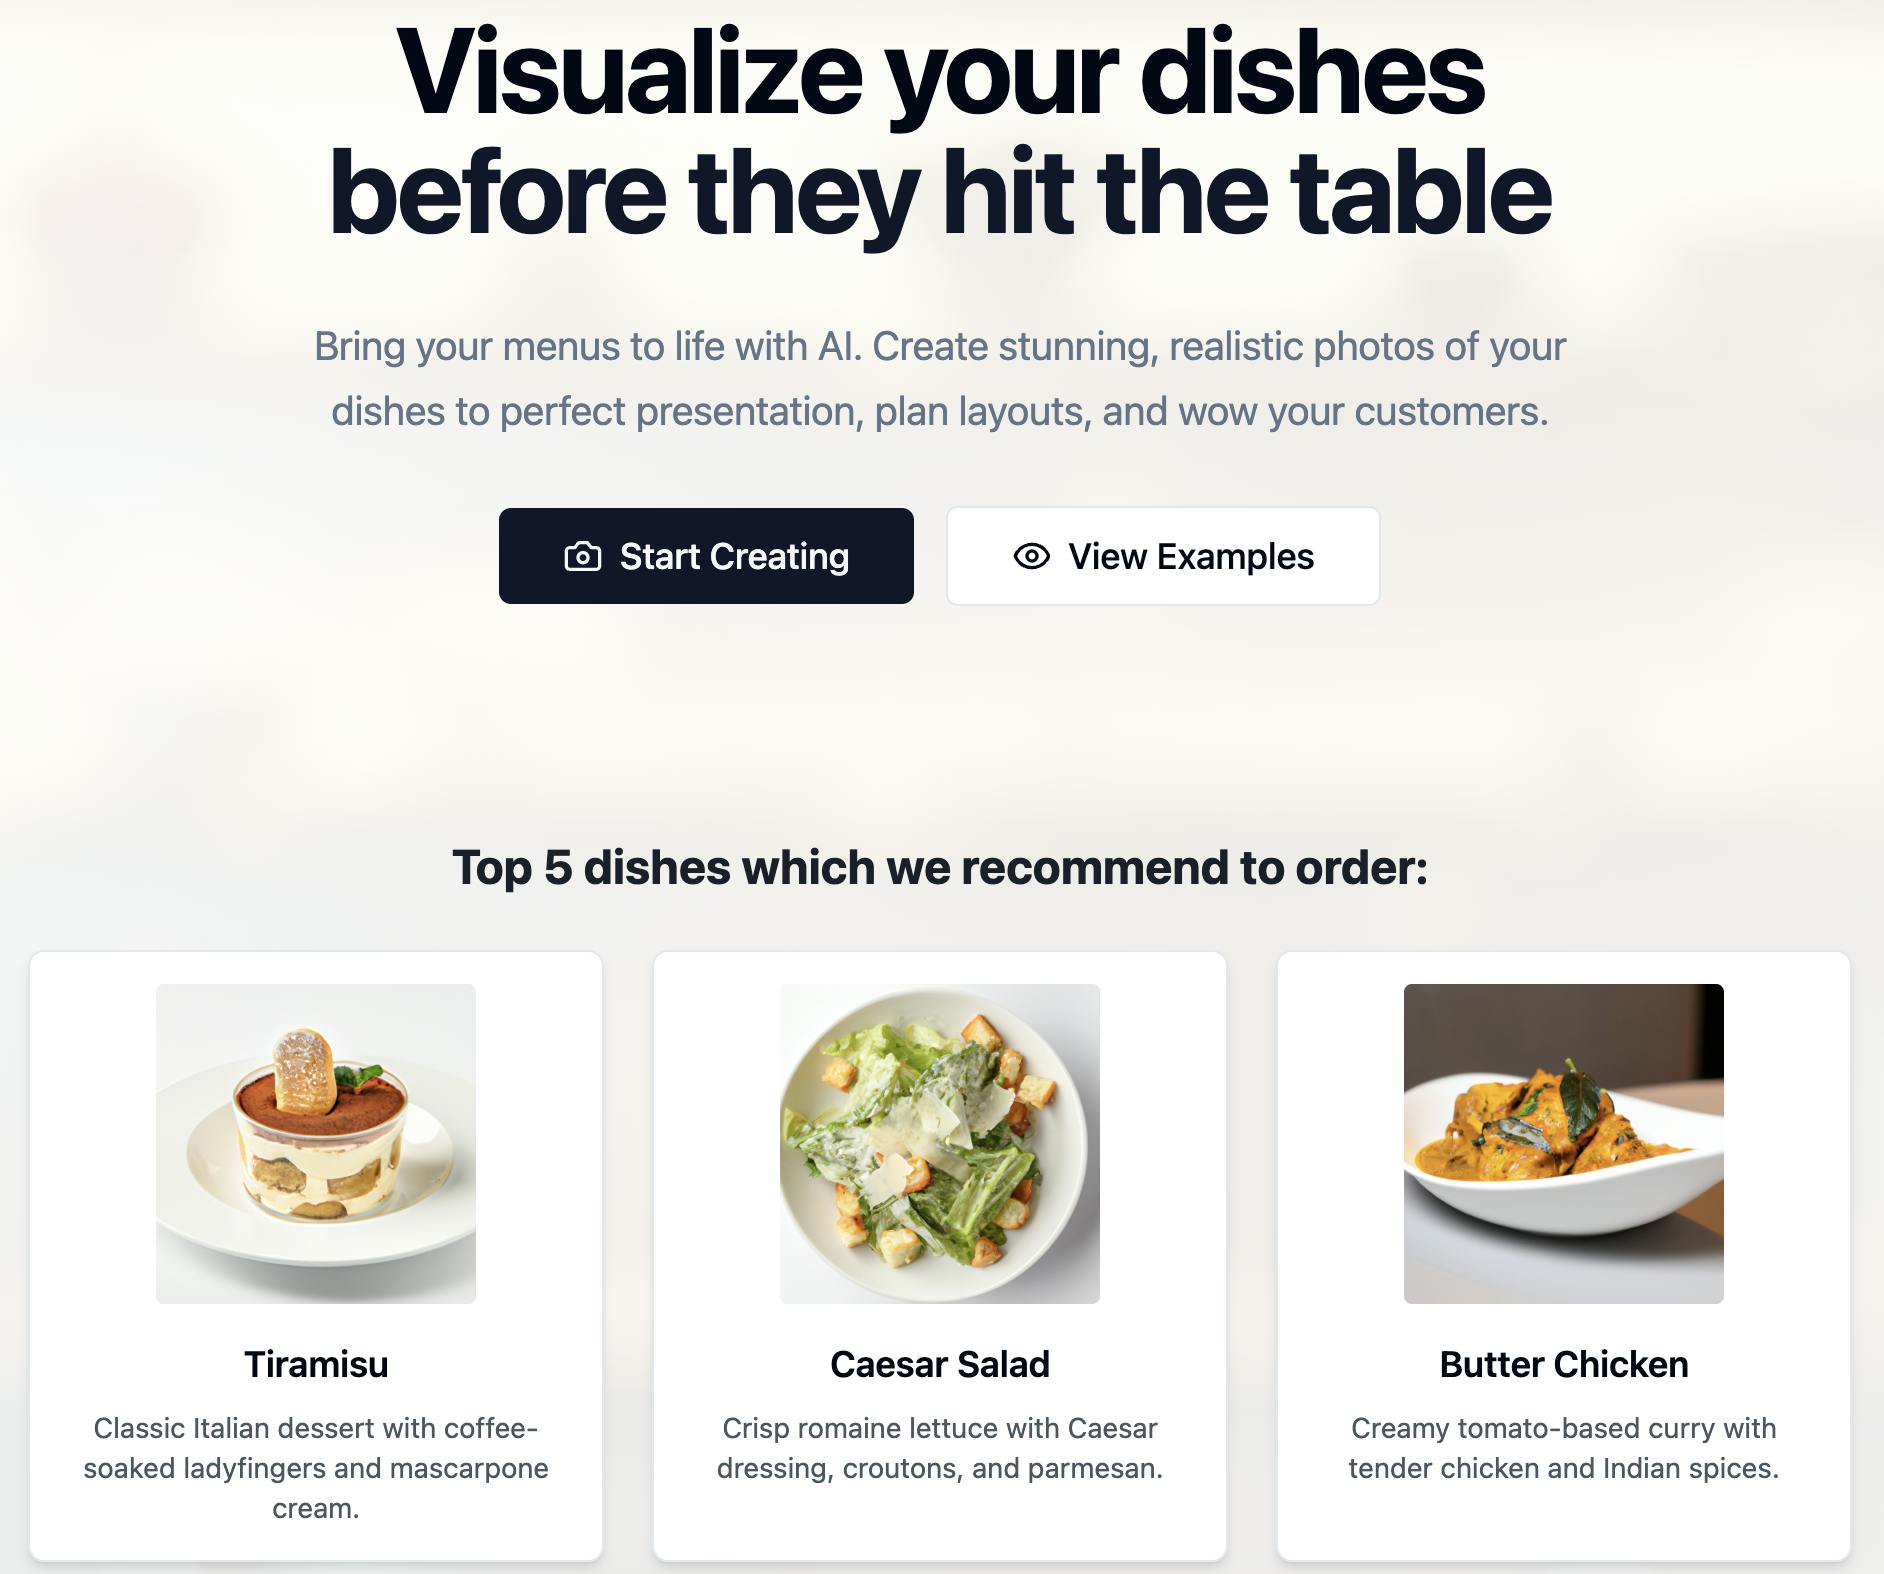
Landing Page with Lovable.dev
I used Lovable.dev to generate marketing copy and pasted it into a Carrd template. The whole process took less than 15 minutes.
Sample CTA:
“Visualize your dishes before they hit the table. Bring your menus to life with AI.”
Result:
You can easily connect the project with GitHub to manage your code, track changes, and collaborate.
🧠 Core Logic: From Image to Menu Visuals in Three Steps
The service follows a simple yet powerful pipeline:
- Extract text from an image using Tesseract.js
- Parse that text into structured data using OpenAI’s API
- Generate a photorealistic image with Replicate (e.g. Stable Diffusion)
1. 📸 Text Extraction with Tesseract.js
The user uploads an image (like a menu photo). Tesseract reads and extracts the raw text:
const { createWorker } = require("tesseract.js");
const extractText = async (imagePath) => {
  const worker = await createWorker("eng");
  const {
    data: { text },
  } = await worker.recognize(imagePath);
  await worker.terminate();
  return text;
};
2. 🧠 Structure the Text with OpenAI
Next, the raw OCR output is cleaned and structured using GPT. For example, turning:
BAR SNACKS\nLobster thermidor crumpet, pink grapefruit salad 7.7\nButtermilk
fried chicken, Korean BBQ sauce (to share) (v) 5.3\nTeriyaki chicken skewers
into:
"dishes": [
    {
      "description": "Delicious lobster on a crumpet with a refreshing pink grapefruit salad",
      "name": "Lobster Thermidor Crumpet"
    },
    {
      "description": "Crispy fried chicken served with flavorful Korean BBQ sauce, perfect for sharing",
      "name": "Buttermilk Fried Chicken"
    }
]
You send a prompt like this:
const response = await openai.chat.completions.create({
  model: "gpt-4",
  messages: [
    {
      role: "user",
      content: `You are a helpful assistant that extracts dish names and short,
                appetizing descriptions from restaurant menus. If the provided
                text is not a food menu, reply with ONLY the word 'ERROR'.
                Reply ONLY with the JSON array or 'ERROR'.
                Example: [{"name":"Tiramisu","description":"Classic
                Italian dessert with coffee-soaked ladyfingers and
                mascarpone cream"}, ...]`,
    },
  ],
});
const structuredMenu = JSON.parse(response.choices[0].message.content);
3. 🖼️ Generate Images with Replicate
Finally, each structured dish description is passed to Replicate to generate a visual:
const replicate = new Replicate({ auth: process.env.REPLICATE_API_TOKEN });
const output = await replicate.run(
  "stability-ai/sdxl:latest",
  {
    input: {
      prompt: `A photorealistic, realistic, beautifully plated, tasty-looking
               dish: {dish name}. {dish description} Professional food
               photography, restaurant menu style, high detail, vibrant colors,
               no text, no watermark, no people, only the dish on a clean
               background, 4k, studio lighting, shallow depth of field.`,
    },
  }
);
const imageUrl = output[0];
🔐 Secure Environment & Dockerized Setup
To streamline development and ensure secure deployment, I containerized the entire application using Docker, making it easy to run consistently across different environments. I also implemented environment variable management through a .env file, which is excluded from version control to safeguard sensitive information like API tokens. This approach keeps configuration separate from code, enhances security, and allows for smooth scaling to cloud platforms or production environments.
Deployment
Here’s a clear and practical explanation of how to deploy your frontend and backend, including via Lovable and other platforms:
Frontend Deployment (Lovable & beyond)
For the frontend (e.g. React, Vite, or static HTML/JS), you can deploy using:
- Great for quick, no-code-friendly frontend hosting.
- Set environment variables via the dashboard (e.g.,
VITE_API_URL). - Push code via GitHub; Lovable auto-builds and hosts your frontend.
Alternative frontend platforms:
- Vercel (ideal for React/Next.js)
- Netlify (great for static sites or Vite apps)
- Cloudflare Pages (free and fast for static content)
💡 If your frontend talks to an external API (e.g. your backend or Replicate), make sure the base URL is set via an env variable like VITE_API_URL.Backend Deployment (if using Node/Express or API layer)
If your backend is more than static hosting (e.g. you use Express.js, handle routing, or process images), you can deploy it separately using:
- Render (simple Node/Docker backend hosting, free tier available)
- Railway (supports Node.js and Docker, easy env variable management)
- Fly.io (for running Dockerized apps globally, low-latency)
- Supabase / Firebase Functions (if you want serverless backend logic)
💡 Your Docker-based backend can be deployed directly to these services. Just make sure yourDockerfileexposes the correct port and uses environment variables securely (via.env, not hardcoded).
🔄 Typical Architecture Flow
[Frontend on Lovable / Vercel]  ───>  [Backend on Render / Railway / Replicate API]
                          ↑
               Uses env: VITE_API_URL=https://api.example.com
This project helped me explore rapid prototyping with modern AI tools and share my findings with the developer community. By open-sourcing the code and writing about the process, I hope others can build upon and adapt similar workflows for their own use cases.
- GitHub: github.com/Timur164/AI-Powered_Food_Visualization
- Live demo: gastro-vista-ai.lovable.app