Part 1 of 2 of getting our First Deep Learning Build
Disclaimer: While I’ve chosen components based from different manufacturers, none of these are sponsored.
Also Note that the prices are based in India. The components here might be comparatively much more expensive depending on your country.
But well, If MSI-you’re reading this. I have a few more slots to populate with more RTX cards ;)
Since the launch of My little company Neuroascent that I’ve Co-founded along with Rishi Bhalodia about a few months ago, We’ve reached a stage that now we’re ready to invest in a “Deep Learning Rig”.
We’re fast.ai fellows and fans and Jeremy Howard advises building a “Deep Learning Box” whilst doing the Part 2 of their MOOC.
We’ve chosen to dedicate our time to fastai thoroughly and then shift to other paths.
This Blog Post is a walk through of the choices we’ve made about the PC Components, why we chose to get it assembled by a 3rd Party retailer: Ant-PC instead of doing it ourselves and a few suggestions on where you might be able to save some money or get a better bang for the buck.
Why a Deep Learning Box?
I’ve used AWS for a while before investing into a “DL Box”, this is actually my second investment, the first being a “Gaming Laptop”-1070 based.
Why is having a DL box a good idea?
- AWS bills in the long-term >> Cost of a DL Box.
- Along with that you do get the peace of mind to not have to ensure that your “instance is shutdown”.
- In comparison to the “Standard AWS instances, you could shoot for a faster build (A 2080Ti based one)
Also, my reasons greatly resonate with Francisco Ingham as mentioned by him here
Copy Pasted for reading:
Reasons:
Skin in the gameInvesting a substantial amount of money in your new build proves to yourself that you are serious about this DL stuff.
MotivationFinishing the build, with the hassle it entails to choose the parts, source them and get everything to work smoothly (both hardware and software) is HIGHLY satisfactory.
FlexibilityThe fact that you worked this out for yourself from the ground up means you know each step you took and can easily change if necessary (e.g. change a computer part for a new one or modify your dev setup).
Ease of workIf you can afford good hardware, everything is easier than relying on external compute. Running a notebook is smooth and fast, no lags. This facilitates experimentation enormously.
Okay, But Why get it Assembled?
Given our lack of experience with hardware and being afraid to break anything- we decided to spend a little more money to get it assembled instead.
Turns out, Ant-PC: An online store in India didn’t bill us with extravagant amounts for that.
A few Pro(s):
- Ant-PC guys have promised me to run stress tests for 2 days before shipping the PC to me, which means that I’ll have the peace of mind of not receiving any faulty components.
- They provide 1 year On-Site warranty: Instead of just individual warranty of components, I’ll get be getting an year of warranty for “Neutron”-which is a plus.
- Also, the Ant-PC guys are one of the few retailers in India that have worked with “DL Builds” so they were of great help while deciding our components.
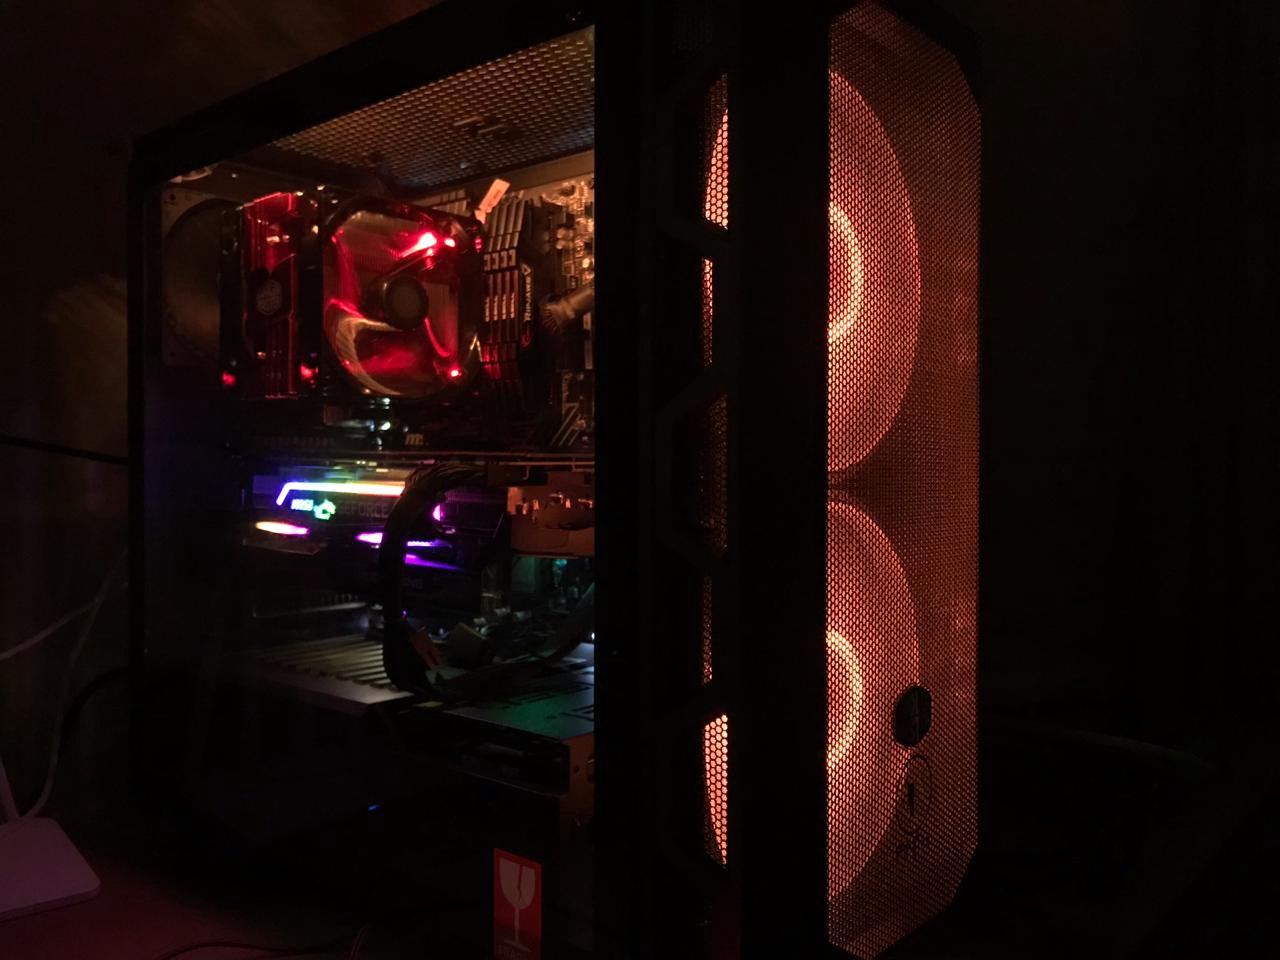
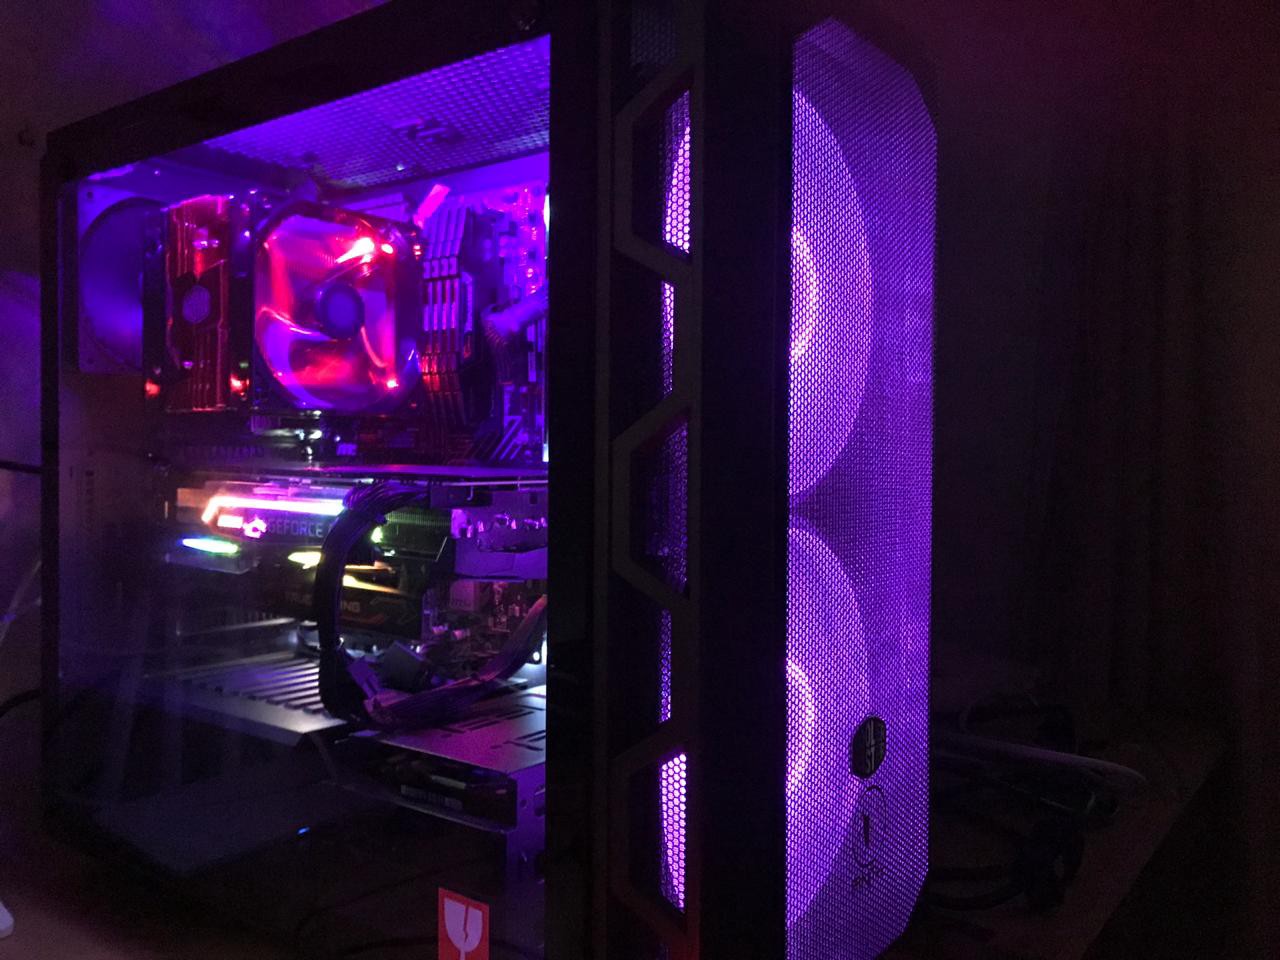
- Finally, They gave me free RGB lights (Important Detail)
Components
With the Background story out of the way, let’s get to it.
A Disclaimer: Neither am I a hardware Guru nor do I highly recommend my choices. Be sure to do your research. My ideas are highly derived from the Kaggle Noobs community and fast.ai forums where people with much more experience have been super helpful to me.
Sources that shaped my opinion:
- Build your own Deep Learning Box thread from fast.ai
- Hardware Channel in Kaggle Noobs
A few things that I have tried to take care of:
- Room for Upgrades
- Shoot for the Best GPU (as per the budget)
- Get a juicy NVMe M.2 Drive (Suggestion from Jeremy in the fastai forums)
CPU
Intel i7–8700K
Quoting, Tim Dettmer’s blog on “A Full Hardware Guide to Deep Learning”
CPU
The main mistake that people make is that people pay too much attention to PCIe lanes of a CPU. You should not care much about PCIe lanes. Instead, just look up if your CPU and motherboard combination supports the number of GPUs that you want to run. The second most common mistake is to get a CPU which is too powerful.
The 6-Core CPU was the sweet spot for our requirements.
A couple of hiccups:
-
It supports up to 64GB RAM: Fix- Allocate More swap. Honestly, right now I do not see a possibility of me using >64GB RAM, but for future-proofing needs-it might be something that you want to look into.
-
Not 9th Gen:At the time of assembly, the world had seen the rise of 9th Gen Processors.
The 9th Gen Processor release was a good factor in making the 8th Gen Processor more affordable, the performance/price difference for the 9th Gen didn’t seem to stand out a lot to us.
RAM
RAM Source: Tim Dettmer’s Blog
The main mistakes with RAM is to buy RAM with a too high clock rate. The second mistake is to buy not enough RAM to have a smooth prototyping experience.
We shot for 64GB
16*4: G.Skill Ripjaws V DDR4 3200MHz
A few suggestions:
- You could opt for a lesser clock rate’s RAM as pointed out by Tim Dettmer however the price difference was just slight and we chose these ones instead.
- If for the same logic, you want to go for RGB RAM: You could get LED Strips for much cheaper and that’d make your Case look much better ;)
Also, Note that the motherboard for our case supports up to 64GB RAM.
GPU
For the GPU, The RTX 2080 Ti was our choice.
The price difference between 2070 to 2080Ti is about 900$, for the Price of a 2080Ti-you could shoot for 2x2070 which would give you a memory size boost.
But for the lack of our experience with training Models across multiple GPU(s), we stuck to a 2080Ti.
I also want to point out that I decided to go for the MSI Gaming X Trio- a personal biased preference towards MSI.
Hey MSI, I know you didn’t sponsor this. I’m not mad, I have more slots in my Motherboard that you could help me with :D
Note: The Gaming X Trio is a bulky card. Our friends at Ant-PC have warned us that to plug in more GPU(s), we’ll have to look at vertical mounting or removing the support bar for the GPU.
Support bar: The GPU weighs~3KG so it needs a support bar to keep it from sagging.
Motherboard
A quick Check-List:
- Fits into your Case.
- CPU Compatible.
- Supports your preferred RAM Size.
- Support for Multiple GPU(s).
- Support for Multiple NVMe M.2 Drives.
- Support for Multiple HDD (Most of the modern motherboards have this)
For the above reasons and a bias towards MSI, we decided to get the MSI Z370 PC PRO
- Supports the 8th Gen Processor.
- Supports up to 64GB RAM.
- Would allow up to 3 GPU(s).
- Supports 2 M.2 Drives.
Case
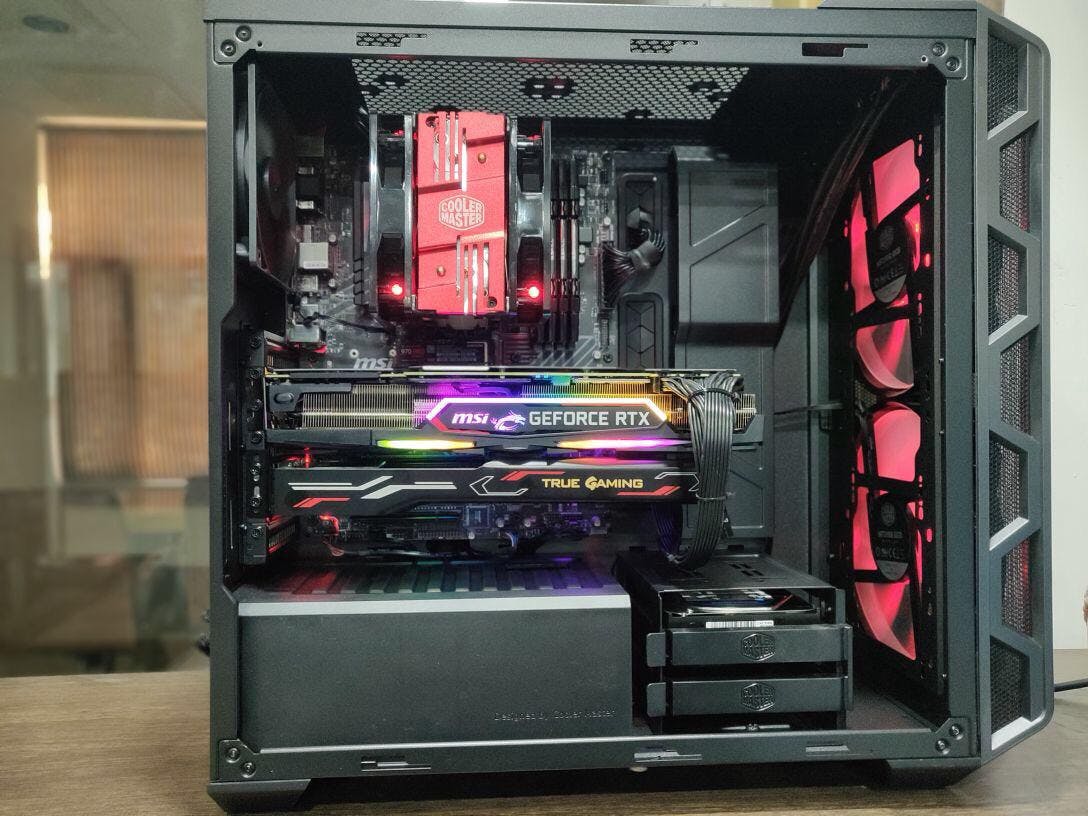
Our retailer recommended getting the CoolerMaster H500 version for the reasons:
- The Case has a decent size to allow convenient upgrades.
- Transparent Panel to show some RGB Love.
PSU
Another Check-List:
- Supports current components.
- Will support future component requirements.
For these reasons, we chose the CoolerMaster Vanguard 1000W PSU
CPU Cooler
This is another thing that I want to quickly iterate over,
Based on my previous (incorrect) knowledge I assumed a liquid CPU cooler would be best since I’d be adding multiple GPU(s) and at the same time, I’d like to keep things cool.
But thankfully as pointed out by Francisco Ingham in the Fastai forums, a liquid cooler is only much help when you need to overclock your CPU-not our requirement.
Plus, there is just a slight chance that there might be leakage-doesn’t happen-but it’s a possibility.
For these reasons, we decided to swap out the ML240L Liquid Cooler with the Hyper 212 LED Turbo.
Our retailer-Ant PC also confirmed that it’s a good choice, plus it’s always easy to swap out the cooler if need be.
Storage
I decided to rock 2 different drives on this
- A 512GB 970 Pro Samsung M.2 SSD
Usage: Ubuntu+Swap+Active datasets
- 2TB HDD
Usage: 1.5TB for Archives
512GB for Windows installation. Well, for Ray-Tracing purposes of course.
Finally, Here are a few first looks of Neutron.

In Part 2 of this blog, I’ll share the steps for setting up DL environment followed by a few benchmarks soon.
If you found this interesting and would like to be a part of My Learning Path, you can find me on Twitter here.
If you’re interested in reading about Deep Learning and Computer Vision news, you can check out my newsletter here.
[story continues]
tags