
In this tutorial, I will show you how to build a router from a Raspberry PI 5 with 5G mobile connectivity.
For the operating system, OpenWRT will be used, because it is one of the most popular opensource project to be used on routers. Also, it supports a big variety of different devices, including Raspberry Pi computers.
Step 1: Prerequisites
For this project we will need:
Raspberry Pi 5 computer (I will be using 8GB RAM version);- Suitable
power supply for the Raspberry Pi 5; - microSD card. I would recommend using 16 GB size card.
- Computer with an operating system. It can be Windows, Linux or macOS;
- An ethernet cable;
- 5G mobile modem (I will be using
Teltonika Calyx 5G / EBD050 ); - A sim card with mobile data.
Step 2: Preparing the Raspberry Pi
First of all, we need to download the image of the operating system that we will be using for the router. OpenWRT provides a list of all its supported devices. This page can be found

Next step would be to download Raspberry Pi Imager software which will be used to flash the SD card with the installation file. The software can be downloaded from
First, select the correct device from the list. Just a reminder, we are using Raspberry Pi 5.
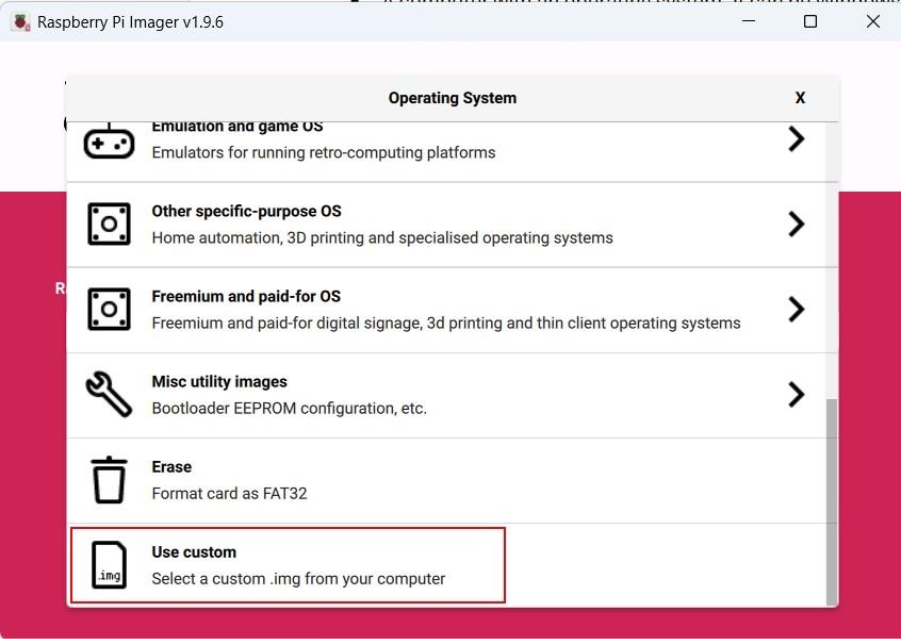
Second, choose the operating system. When the pop-up windows appears, scroll down to the bottom and select “Use custom” options, then select your downloaded installation file.
Third, mount your SD card onto the computer and select it from the list.
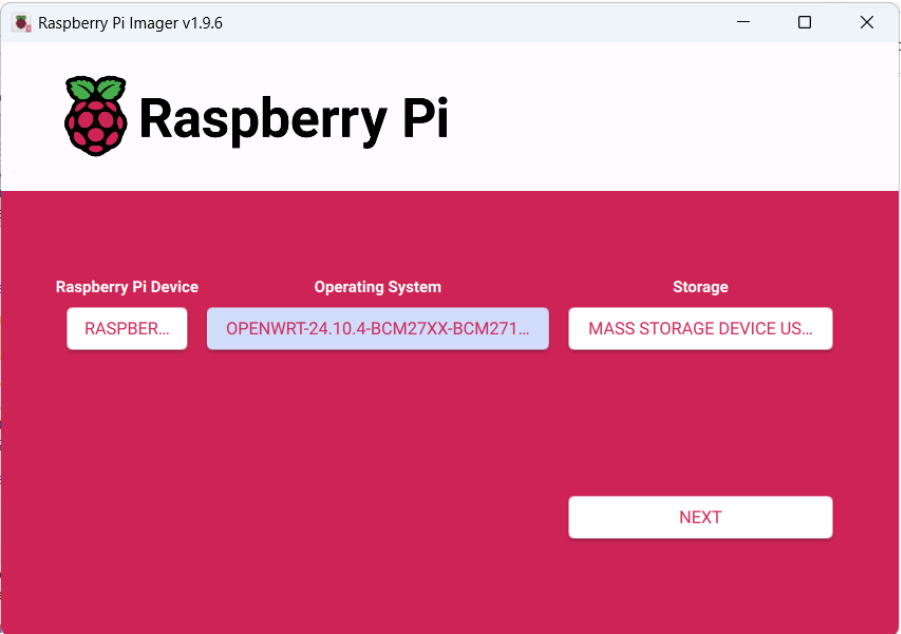
Fourth, start the installation by pressing the button Next. When the pop-up windows appears, press No. On the second pop-up windows, press Yes.
Now wait a couple of minutes for the flashing process to finish.
Step 3: Booting up the device
Take the Raspberry Pi computer and insert the SD card. Connect Raspberry Pi with the computer using ethernet cable. Connect the power supply to the Raspberry Pi and wait a minute for the Raspberry Pi to boot.
Device default information:
- IP address – 192.168.1.1;
- Username – root;
- Password – password isn’t set;
Using your favorite internet browser, connect to your router. In the URL bar, enter your device IP address. If everything was done correctly, you should see the login page.
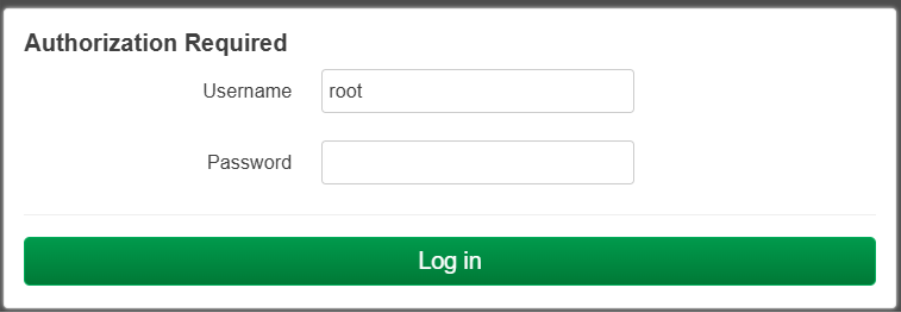
Press the Log in button and you will be logged in to the system.
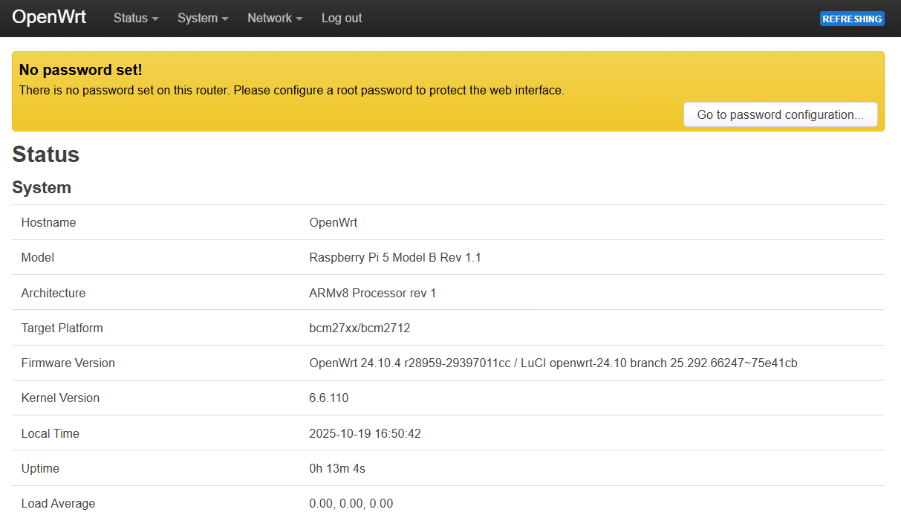
For security reasons, don’t forget to set the password for you device.
Step 4: Prepare for mobile connectivity
As I mentioned earlier, we are building a router with 5G mobile connectivity. By default, OpenWRT doesn’t add support for mobile connectivity. For mobile connectivity to start working, we need to install some packages.
To install these packages, we have two options. First option is to download all packages and install manually, but it takes a lot of time, because we will need a lot of dependencies. Second option is to use the package manager which will manage the necessary dependencies, but for that we need to connect our Raspberry Pi to the internet. I will connect my Raspberry Pi using Wi-Fi.
Step 4.1: Connect to the internet
Navigate to Network -> Wireless. There you should find two wireless interfaces. The first one should have a blue button with a text Scan.

Press that button. A pop-up window should appear. Wait till the scan finishes and select the network to which you want to connect. In the second window, don’t forget to enter the password for Wi-Fi and continue. In the third window, just save the configuration. When the window closes, press the blue button with the text Save & Apply for changes to take place.
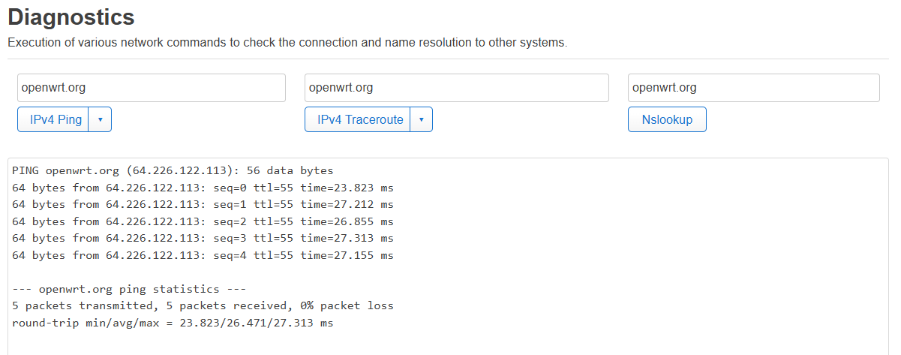
If you want to check if you have internet connectivity, you can navigate to Network -> Diagnostics and try to ping some kind of domain.
Step 4.2: Install packages
For our router to start recognizing mobile modems, we need to install a couple of packages. Packages we need:
- luci-proto-modemmanager
- kmod-usb-serial
- kmod-usb-net
- kmod-usb-serial-wwan
- kmod-usb-serial-option
- kmod-usb-net-qmi-wwan
- kmod-usb-net-cdc-mbim
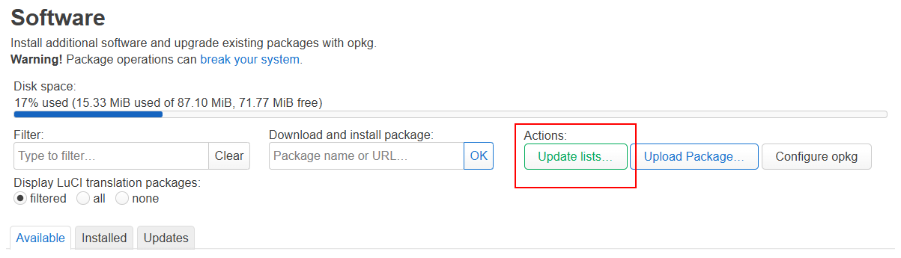
Navigate to System -> Software. While on the page, first we need to download the list of available packages. In the Actions section, press the button with the text Update lists ... and wait for the update to finish.
When the list has been updated, it’s time to start installing the packages.
Use the filter to find and install the necessary packages. Use the install button next to the package to install it.
After installing all the necessary packages, reboot the router for packages to start working.
It is possible to reboot the router from the WEB UI. Just navigate to System -> Reboot.
Step 5: Setting up the mobile connectivity
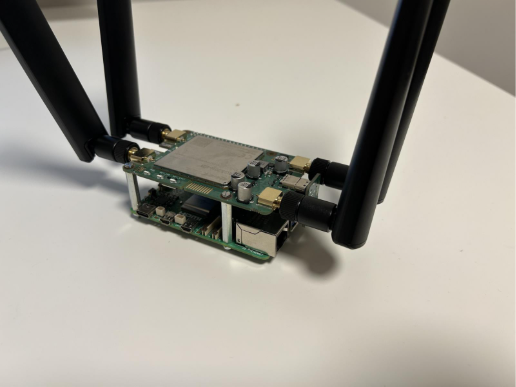
First of all, we need to attach the modem hat onto the Raspberry Pi and connect it to Raspberry Pi over the USB port. Official instructions on how to install the modem onto the Raspberry Pi, can be found
Once the modem is installed, it’s time to connect to the internet.
Boot your Raspberry router and navigate to Network -> Interfaces. Before creating an interface for the mobile connectivity, I would advise to turn off or delete the Wi-Fi interface that we created earlier.
Press the button with the text Add new interface... . In the opened pop-up window, enter the name for the interface. Eg mobile. From the protocol list, select ModemManager and click the green Create interface button.

A new window should appear with a lot of configuration options.
In this window we care only for PIN and APN fields.
Insert your PIN number if by default it is enabled on the sim card. If it is disabled, leave it blank.
The APN field is mandatory. Depending on your operator, APN will differ. You can change other settings if you know what are you doing, but I advise to leave it as it is.

I was able to find some kind of list of different operators and their APNs, but I can’t guarantee that the APNs are up to date. You can find the list
In the top of the pop-up windows, change the settings tab toFirewall Settings. From the drop-down list select WWAN zone.
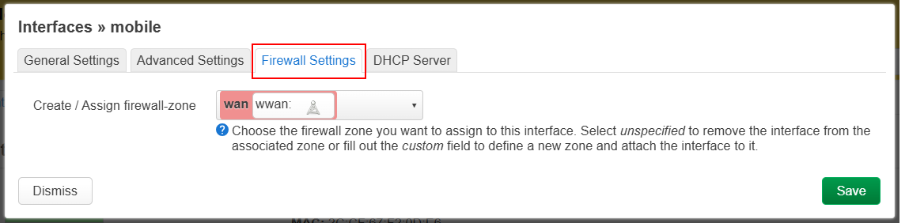
Click the green button with the text Save. Now click the blue button with the text Save & Apply. Wait a couple of seconds for the changes to take effect.
If everything was done correctly, you should see something like in the picture.

Step 6: Internet connectivity testing
The simplest way to check if we have internet connectivity, that I can think of, is by visiting the
Here’s the results of the speed test.

Step 7: What's next?
OpenWRT has a lot of capabilities what can be done. I would encourage you to explore more of the OpenWRT system and what packages does it provides.
[story continues]
tags